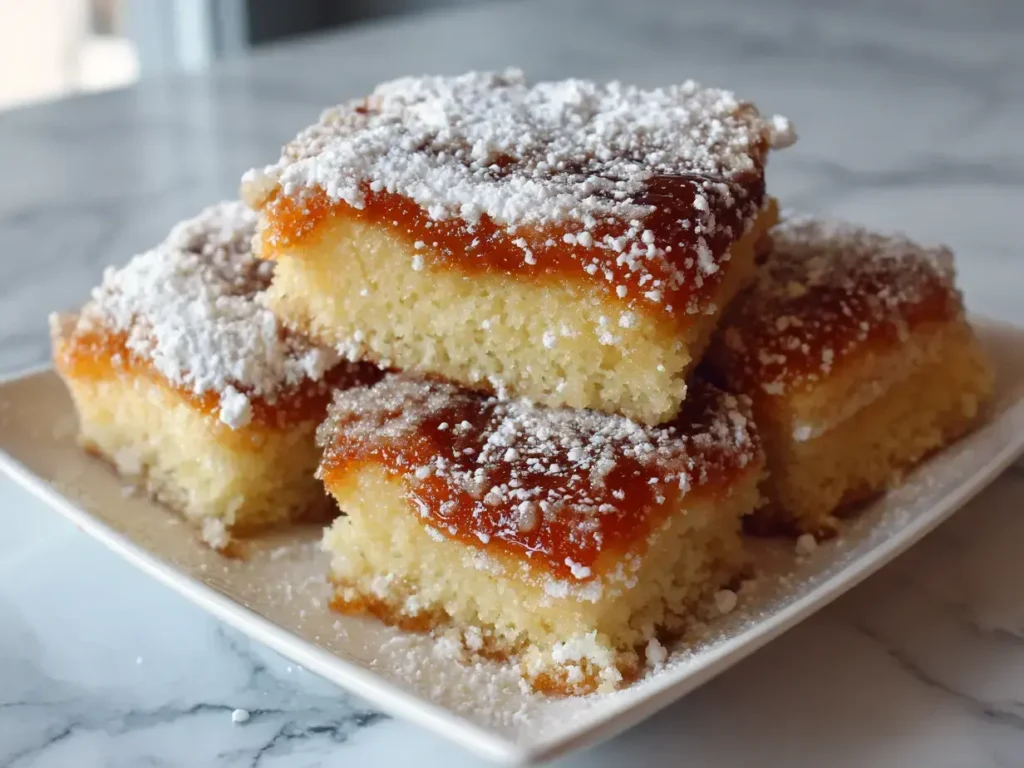
Glazed Maple Donut Bars
This post may contain affiliate links.
Read our Disclaimer.
Leave a Comment ★★★★★
Let’s be honest, sometimes you just need the warm, spiced comfort of a donut without the fuss of frying. That’s where these incredible maple donut bars come in. They bring back memories of Saturday mornings at our local bakery, but now you can make them right in your own kitchen. These baked treats are soft, cakey, and drenched in a simple, glorious maple glaze. Even better, you don’t need any special equipment—just a bowl, a whisk, and a pan. So, let’s create a little bit of that cozy bakery magic at home. I promise, your kitchen will smell absolutely divine.

Table of Contents
These homemade maple donut bars are going to become your new favorite treat for so many reasons. They are incredibly simple to whip up, making them a perfect project for a lazy weekend morning. They capture the essence of a classic cake donut but in a convenient, shareable bar form that’s just perfect for a crowd or for packing in a lunchbox.
Since these delicious maple donut bars are baked instead of fried, they feel like a slightly lighter option. You still get that wonderfully soft and tender crumb, but without the added oil. The warm flavor of nutmeg is a nostalgic touch that makes them taste genuinely authentic. Consequently, you can enjoy them with your morning coffee without any guilt.
You don’t need any donut pans or a stand mixer for this recipe. In fact, you probably have all the ingredients in your pantry already. This is a straightforward, one-bowl style recipe that comes together in minutes. If you’re looking for another easy, crowd-pleasing dessert, you might enjoy my simple no-bake peanut butter bars recipe.
Using the right ingredients is the secret to achieving that bakery-quality flavor and texture in your maple donut bars. While the list is simple, a few key choices make a world of difference. Let’s break down the essentials.
For the absolute best flavor, please use real, pure maple syrup. The artificial pancake syrup just can’t compare in terms of depth and that warm, woody sweetness. Real syrup is the heart and soul of these glazed maple donut bars. Similarly, when baking, I always recommend using room temperature eggs as they blend into the batter much more smoothly, creating a uniform texture.
Properly measuring your flour is crucial. I like to spoon the flour into the measuring cup and level it off with a knife to avoid packing too much in. The nutmeg is non-negotiable; it’s the classic spice that gives these bars their signature donut-shop aroma. For another dessert where spice is key, check out my recipe for a comforting churro cheesecake bars.
You don’t need a kitchen full of fancy gadgets to make these easy maple donut bars. A few standard tools are all it takes to get perfect results every single time. Having everything ready before you start makes the process smooth and enjoyable.
An 8×8-inch square baking pan is ideal for this recipe. I highly recommend lining it with parchment paper with an overhang on two sides. This creates a “sling” that lets you lift the entire batch of cooled maple donut squares out of the pan effortlessly for clean cutting. Furthermore, a good wire rack is essential for allowing the bars to cool evenly before you add the glaze.
A large mixing bowl, a medium bowl for the wet ingredients, a whisk, and a sturdy rubber spatula are your best friends here. A digital kitchen scale is fantastic for accuracy, but standard measuring cups and spoons work perfectly well. For a dessert that also requires precise mixing, my fudgy chewy brownies recipe is a great example.
Now for the fun part—bringing these homemade maple donut bars to life! The process is simple, but following these steps carefully will guarantee a perfect, fluffy result. Remember, the key to a tender bar is to not overmix the batter.
First, preheat your oven to 350°F and prepare your pan. In your large bowl, whisk the dry ingredients together thoroughly to distribute the baking powder and nutmeg evenly. In a separate bowl, whisk the wet ingredients until they are completely smooth and emulsified. Then, pour the wet mixture into the dry ingredients. Gently fold everything together with a spatula until the flour just disappears.
Next, spread the batter evenly in your prepared pan. Bake for 25-30 minutes. You’ll know they’re done when the edges are golden and a toothpick inserted into the center comes out clean. Then, let the pan cool on a wire rack. This patience is important because if you glaze the bars while they’re warm, the glaze will melt and soak in. For more baking inspiration, browse our full collection of delicious dessert recipes.
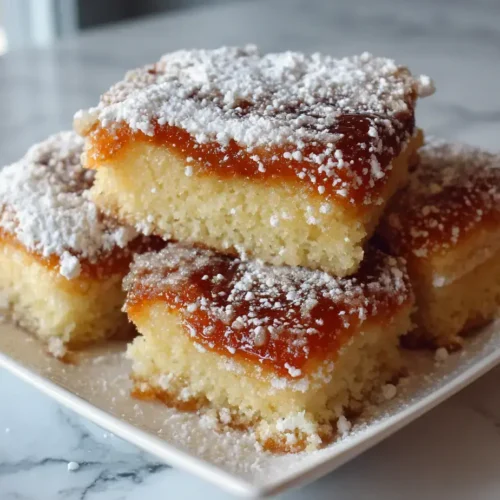
The glaze is what transforms these baked bars into extraordinary maple frosted donut bars. It’s a simple mixture, but getting the consistency just right is the final touch of magic. A good glaze should be thick enough to coat the back of a spoon but thin enough to drizzle beautifully.
Start by sifting your powdered sugar to avoid any lumps. Then, whisk in the maple syrup, milk, and vanilla. If the glaze seems too thick, add milk just a teaspoon at a time until it’s pourable. Conversely, if it’s too thin, add a bit more powdered sugar. The goal is a smooth, glossy glaze that will set nicely on top of the bars.
You can drizzle the glaze artlessly over the whole pan for a rustic look, or for neater bars, you can dip the top of each individual bar into the glaze. Either way, let the glaze set for about 15 minutes before serving. This allows it to form a delicate, sweet shell that cracks delightfully when you take a bite.
Once you’ve mastered the basic recipe, you can have fun customizing these maple donut bars to suit your mood. A few simple additions can create a whole new taste experience. Feel free to get creative and make this recipe your own.
For a bit of crunch, try folding in a half-cup of chopped toasted pecans or walnuts into the batter. For a decadent twist, you can create maple bacon donut bars by sprinkling finely chopped cooked bacon on top of the glaze before it sets. Chocolate chips are another wonderful addition that pairs beautifully with maple.
You can easily make vegan maple donut bars with a few smart swaps. Use a flax egg, your favorite plant-based milk, and vegan butter. The maple flavor is so strong that you won’t miss the dairy at all. For a different bar recipe that’s always a hit, try these gooey smores bars.
These maple donut bars are best enjoyed the day they are made, but they still stay wonderfully moist for days if stored correctly. Here’s how to keep them tasting fresh and delicious.
Once the glaze has fully set, store the bars in an airtight container at room temperature. They will stay soft and tasty for up to 3 days. If you need to keep them longer, you can refrigerate them for up to a week. However, bring them back to room temperature before serving for the best texture and flavor.
These bars freeze beautifully! First, place the unglazed, cooled bars on a baking sheet and flash-freeze until solid. Then, wrap them tightly in plastic wrap and place them in a freezer bag. They can be frozen for up to 3 months. Thaw at room temperature and glaze them just before you’re ready to serve.

A perfect maple donut bar is a treat on its own, but it becomes part of a memorable meal when paired with the right dishes. Whether for a special brunch or a simple breakfast, here are some ideas to create a complete spread.
Nothing beats a hot cup of coffee or black tea with these bars. The bitterness of the coffee beautifully cuts through the sweetness of the maple glaze. For a cozy afternoon treat, a glass of cold milk is also a classic and delightful pairing. Meanwhile, if you’re planning a savory main course, this Cajun sausage and rice skillet is a fantastic option.
Serve these bars alongside other brunch favorites like crispy bacon, scrambled eggs, and fresh fruit salad. They make a wonderful alternative to muffins or toast. For a savory bread to balance the sweetness, my cheesy garlic bliss bread is always a crowd-pleaser.
I strongly recommend using pure maple syrup for the best flavor. Pancake syrup is often made with corn syrup and artificial flavors, which will not give you the same rich, authentic taste in your maple donut bars.
Dense bars are usually caused by overmixing the batter. Once you combine the wet and dry ingredients, mix only until the flour disappears. Overmixing develops the gluten in the flour, leading to a tougher texture.
Absolutely! You can bake the bars a day ahead, let them cool completely, and store them unglazed in an airtight container. Prepare and add the glaze the next day just before serving for the best results.
If your glaze is runny, simply whisk in more sifted powdered sugar, a tablespoon at a time, until it reaches a thick but pourable consistency.
Yes, but the bars will be thinner. You will need to reduce the baking time significantly—start checking for doneness around 18-20 minutes.
The recipe is naturally nut-free as written. Just be sure to check that your maple syrup and other ingredients are processed in a nut-free facility if you have a severe allergy.
Baking these maple donut bars is more than just following a recipe; it’s about creating a moment of warmth and comfort. They prove that you don’t need complicated techniques to make something truly special. The smell alone is enough to bring a smile to anyone’s face. I hope this recipe finds its way into your regular rotation and becomes a cherished treat for your family, just like it is for mine. Now, go preheat that oven and get baking—you’ve got this!

Welcome to Mac Recipes! I'm here to prove that amazing home-cooked meals don't need to be complicated. From weeknight dinners to weekend treats, I create recipes that fit into your busy life—delicious, doable, and always worth making.
More About Me