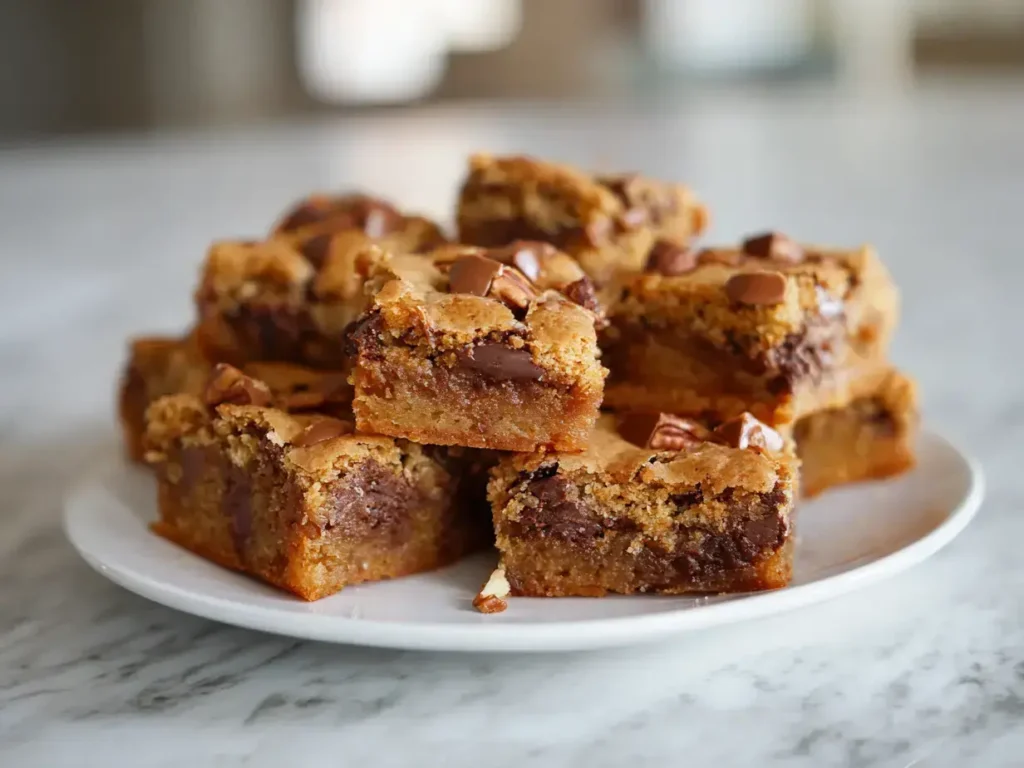
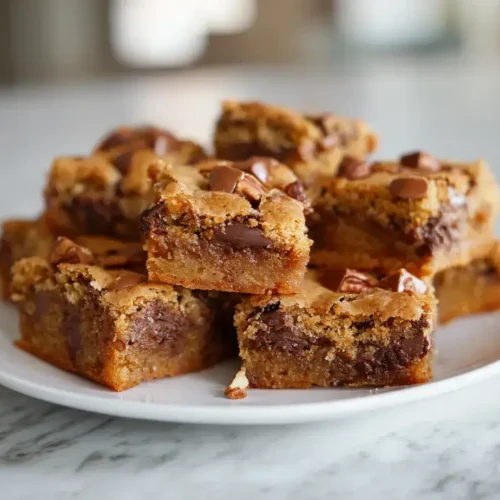
Chewy Candy Bar Blondies
This post may contain affiliate links.
Read our Disclaimer.
Leave a Comment ★★★★★
Hello there, my dear baking friends! There’s something incredibly special about the scent of butter and brown sugar wafting from the oven, don’t you think? It instantly brings me back to my own childhood kitchen, watching my grandmother create magic with just a few simple ingredients. Today, I want to share that same feeling with you through my beloved recipe for Candy Bar Blondies. This recipe is the ultimate tribute to that nostalgic joy, combining the chewy, buttery goodness of a classic blondie with the irresistible, fun crunch of your favorite candy bars. Moreover, it’s an incredibly easy dessert that comes together in one bowl, making it the perfect last-minute treat for potlucks, bake sales, or a cozy family night in. Let’s get ready to bake some memories together!

Table of Contents
If you need a quick and dependable dessert that always wins rave reviews, you are in the right place! First and foremost, these Candy Bar Blondies are fantastically simple to make. You don’t even need a mixer; a sturdy spatula and a couple of bowls are all it takes. Consequently, cleanup is a breeze, which I know we all appreciate. Furthermore, the flavor is absolutely phenomenal. The chewy, vanilla-kissed blondie base provides the perfect canvas for pockets of melted chocolate, crunchy nuts, and gooey caramel. They are the ultimate crowd-pleaser, striking that ideal balance between a fudgy brownie and a soft cookie bar.
This recipe truly celebrates the beauty of minimal cleanup. In fact, you will mix the entire batter in one large bowl after a quick whisk of the dry ingredients. Therefore, you can spend less time washing dishes and more time enjoying the incredible aroma filling your kitchen. This no-mixer approach makes the process so accessible, even for beginner bakers.
The best part about these easy blondies with candy bars is their versatility. You can truly make them your own. For instance, use up that leftover Halloween candy, or tailor the mix-ins to your family’s specific cravings. They are a wonderful clean-out-the-pantry project that guarantees a delicious result every single time.
Using high-quality, simple ingredients is the secret to the most flavorful dessert bars. Each component plays a specific role in creating that perfect texture and taste. Let’s walk through what you’ll need and why it matters so much for your Candy Bar Blondie recipe.
The foundation of any great blondie is its base. All-purpose flour gives the bars their structure, while baking powder provides just the right amount of lift. A pinch of table salt is absolutely crucial; it cuts through the sweetness and makes all the other flavors pop. Then, we have the stars of the show: melted unsalted butter for richness and packed light brown sugar. The brown sugar is key! It contributes a deep, caramel-like sweetness and, along with the eggs, creates that wonderfully chewy and fudgy texture we all adore.
This is where the fun begins and where you get to name your creation! Semi-sweet chocolate chips offer a classic, reliable meltiness. Chopped milk chocolate candy bar pieces, like Snickers or Twix, create those dreamy, gooey pockets. Finally, toasted pecans add a sophisticated, nutty crunch that contrasts beautifully with the sweetness. You could easily create peanut butter blondies by swapping in peanut butter cups and peanuts!
You won’t need any fancy gadgets for this recipe, which is part of its timeless charm. Having the right basic tools, however, sets you up for baking success and makes the process smooth and enjoyable.
A light-colored metal 9×13-inch baking pan is ideal for even baking and browning. Do not forget the parchment paper! Lining your pan with a parchment sling (with an overhang on two sides) is the single best trick for removing your blondies cleanly and slicing them into perfect squares. You will also need a good rubber spatula for folding the thick batter and a set of measuring cups and spoons.
You need two simple bowls: one medium for the dry ingredients and one large for the wet. A whisk is perfect for combining the flour, baking powder, and salt evenly. A wire cooling rack is essential afterward; allowing your Candy Bar Blondies to cool completely in the pan on the rack is non-negotiable for achieving the perfect, clean slice.
Now for the best part—let’s bake! Follow these simple steps for flawless blondies every time. I’ll walk you through each stage so you know exactly what to expect.
First, always start by preheating your oven to 350°F (175°C). This ensures a consistent temperature from the moment the pan goes in. Next, prepare your baking pan. Grease it lightly with butter or cooking spray, then line it with parchment paper. Make sure the paper has a couple of inches of overhang on the two long sides—this will be your handle to lift the entire slab out later. This simple step is a game-changer!
In your medium bowl, whisk the flour, baking powder, and salt together. In your large bowl, combine the melted (and slightly cooled) butter with the brown sugar. Stir until it’s smooth. Then, beat in the eggs one at a time, followed by the vanilla. It will become thick and glossy. Gently fold the dry ingredients into the wet until just combined. Finally, fold in your glorious mix-ins. Spread the thick batter into your prepared pan and bake for 25-30 minutes. You know they’re done when the edges are golden but the center still looks a tiny bit soft.
Your kitchen smells amazing, and your gorgeous pan of blondies is cooling. Now, let’s talk about the best ways to enjoy and keep your creation!
Patience is key here! You must let the blondies cool completely in the pan on a wire rack. I know it’s hard to wait, but this allows them to set up properly so you can get those clean, sharp cuts. Once cooled, use the parchment paper to lift them out onto a cutting board. Slice them into squares—I find a sharp chef’s knife works best. For an extra-indulgent treat, serve them slightly warm with a scoop of vanilla ice cream on top. The contrast is divine!
To keep your Candy Bar Blondies fresh, store them in an airtight container at room temperature. They will stay perfectly soft and chewy for up to 4 days. You can also freeze them for longer storage! Simply wrap individual squares tightly in plastic wrap and place them in a freezer bag. They will keep for up to 3 months. Thaw at room temperature whenever a cravings strikes. They are the perfect make-ahead treat for any occasion, much like my popular s’mores bars.

One of the greatest joys of baking is making a recipe your own. Furthermore, this base is incredibly forgiving and welcomes all sorts of delicious variations.
Feel free to get creative with your mix-ins! The recipe is a perfect guide, but your pantry is the limit. For classic chocolate chip blondies, simply use all chocolate chips. To make Snickers Blondies or Twix Blondies, chop up those specific candy bars. For a colorful twist, M&M Blondie bars are always a hit with kids. If you love caramel, you can even drizzle some extra caramel sauce over the batter before baking for ultra-gooey caramel blondies.
Not a fan of pecans? No problem! You can substitute walnuts, almonds, or even omit the nuts entirely for a nut-free version. For a different flavor profile, try swapping the vanilla extract for almond extract. You could even fold in some shredded coconut for a tropical twist. This recipe is as versatile as the fantastic brown butter brookie.
After years of baking, I’ve picked up a few secrets that guarantee perfect results. Here are my top tips for the best candy bar dessert bars you’ve ever made.
The number one rule for chewy candy blondies is to avoid overmixing the batter. Once you add the flour, mix just until the white streaks disappear. Overmixing develops gluten, which can make the bars tough instead of tender. Secondly, do not overbake them! The toothpick test is your friend—it should have a few moist crumbs attached, not come out completely clean. The blondies will continue to set up as they cool.
For the fudgiest, most gooey blondie squares, make sure your brown sugar is packed tightly into the measuring cup. This ensures you get the correct amount for that moisture and flavor. Also, toasting your nuts beforehand is a small step that makes a huge difference, deepening their flavor immensely. Finally, for a beautiful presentation, reserve a handful of your chocolate and candy pieces to press into the top of the batter right before baking.
I often get asked the same wonderful questions about this recipe. Let’s tackle a couple of the most common ones right here.
Absolutely, but it will affect the baking time and thickness of your bars. For a 9×9-inch square pan, you will get thicker blondies. You will likely need to add 5-10 minutes to the baking time. Just keep a close eye on them and use the toothpick test to determine doneness. Conversely, for a larger jelly roll pan, the bars will be thinner and will bake much faster.
That delightful, slightly crackly top on a blondie comes from properly dissolving the sugar into the butter and eggs. This is why we stir the butter and sugar so thoroughly until it’s smooth. The grainy sugar crystals dissolve, and when baked, they rise to the top and create that signature thin, crisp crust. It’s a hallmark of a perfectly made blondie!
Absolutely! In fact, I often think they taste even better the next day. The flavors have more time to meld together. Just store them in an airtight container at room temperature after they have cooled completely.
The main difference is the sugar. Brownies use cocoa powder for a chocolate base, while blondies use brown sugar for a rich, buttery, vanilla-based flavor that tastes like a chocolate chip cookie in bar form.
A cakey texture usually means there was too much air incorporated into the batter (likely from overmixing after adding the flour) or a bit too much baking powder. Remember to fold gently and measure your leavening accurately.
Yes, they freeze beautifully! Cool them completely, then wrap individual squares tightly in plastic wrap and place them in a freezer-safe bag. They’ll keep for up to 3 months. Thaw at room temperature.
While not strictly necessary, toasting the nuts is highly recommended. It deeply enhances their flavor, adding a richer, nuttier taste that stands up beautifully to the sweetness of the chocolate and caramel.
You can! Dark brown sugar contains more molasses, which will give your blondies a deeper, more intense caramel flavor and a slightly darker color. It’s a delicious variation.
I truly hope this recipe for Candy Bar Blondies becomes a new favorite in your home, just as it is in mine. It’s more than just a quick blondie dessert; it’s a way to create simple, joyful moments and share something deliciously heartfelt with the people you love. So preheat that oven, grab your favorite candy bars, and bake a batch of pure happiness. Don’t forget to explore other incredible dessert recipes on the blog for your next baking adventure. Happy baking!

Welcome to Mac Recipes! I'm here to prove that amazing home-cooked meals don't need to be complicated. From weeknight dinners to weekend treats, I create recipes that fit into your busy life—delicious, doable, and always worth making.
More About Me