Homemade Rocky Road Squares
This post may contain affiliate links.
Read our Disclaimer.
Leave a Comment ★★★★★
Making Rocky Road is one of my favorite traditions, a simple no-bake treat that brings everyone together. This classic chocolate marshmallow dessert is perfect for beginners and a joy to make with grandchildren. I’ll share my family’s organized method for creating the perfect homemade rocky road every time.


My dear, one of the joys of this homemade rocky road is how little time it demands from you. You only need about 15 minutes of active prep work to create something truly special. The microwave does the heavy lifting in just 5 minutes, melting the chocolate gently.
After that, patience is your only task. The mixture needs at least 2 hours in the refrigerator to set properly. So, from start to finish, you’re looking at about 2 hours and 20 minutes. This makes it a fantastic make-ahead dessert for a party or a lovely weekend project. For another quick and delightful chocolate treat, you might enjoy my chocolate brownie trees.
I believe everyone should be able to enjoy a sweet treat. If you’re sugar conscious, this easy rocky road bars recipe is quite adaptable. You can easily create a lower sugar version that is still full of flavor and joy.
First, consider using a high-quality sugar-free dark chocolate as your base. You could also reduce the quantity of marshmallows or look for a natural sugar alternative. For the graham crackers, simple almond flour crackers can work beautifully. Always remember, the goal is a happy balance, not deprivation.
Over the years, I’ve learned a few tricks that make all the difference. These are the little secrets that turn a good chocolate marshmallow dessert into a great one. I share them with you now, just as I would with my own granddaughter.
While this peanut rocky road is certainly a treat, it’s made with real ingredients. Dark chocolate can be a source of antioxidants, and peanuts provide a bit of protein. The key, as with all things, is mindful enjoyment.
A small square of this homemade rocky road can be a perfect way to satisfy a sweet craving without overindulging. It’s richer than you might think. For a dessert that incorporates fruit, you might like this chocolate banana bread. Remember, food is about nourishment for the soul, too. The joy of making and sharing this recipe, like the comfort of a churro cheesecake, is a benefit in itself. You can learn more about the basics of a balanced diet from reputable sources like the MyPlate guidelines.
If you wish to make a slightly lighter version of this classic, there are gentle tweaks you can make. The spirit of the recipe remains, just with a little less indulgence.
You could use a dark chocolate with a higher cocoa percentage, which often has less sugar. Another idea is to increase the ratio of nuts and marshmallows to chocolate slightly. This creates a treat that is a bit less dense. For a different take on a layered dessert, my chocolate lasagna uses yogurt for a lighter feel.
I remember serving this rocky road at my children’s birthday parties, and now I do the same for my grandchildren. It’s a dessert that promises happiness. The best way to serve it is simply, on a nice plate at room temperature so the chocolate is just soft enough.

It pairs wonderfully with a glass of cold milk for the children or a strong espresso for the adults. For a festive gathering, you could even crumble it over a scoop of vanilla ice cream. If you’re planning a dessert table, this rocky road looks beautiful next to Oreo brownies or a chocolate spider cake for Halloween.
Even the simplest recipes can have their pitfalls. But don’t worry, I’m here to guide you. Here are a few common questions and how to solve them easily.
Why is my rocky road too soft? This usually means it didn’t chill long enough. The chocolate must be completely firm before you cut it. Patience is the secret ingredient.
Why did my marshmallows disappear? If you add them to piping hot chocolate, they will melt. Always let the chocolate cool for a few minutes first. This is a key step for perfect texture, much like the care needed for fudgy chewy brownies.
How do I get clean cuts? Use a sharp knife and wipe it clean with a warm, damp cloth between cuts. This gives you beautiful, professional-looking squares. For more cutting tips, especially for dense desserts, check out advice from King Arthur Baking.
Why is the texture grainy? This can happen if the chocolate is overheated and seizes. Melt it gently in short bursts, stirring well each time. For another recipe that requires careful melting, my churro saltine toffee has similar steps.
I’ve made these mistakes myself, so learn from my experience. The goal is a treat that is as beautiful as it is delicious.
This homemade rocky road stores beautifully, which is why I often make a double batch. I wrap individual squares in parchment paper and keep them in a tin. It’s a lovely thing to have on hand for unexpected guests or a little afternoon pick-me-up.
Store the squares in an airtight container in the refrigerator for up to two weeks. You can also freeze rocky road for up to three months. Just thaw it in the refrigerator overnight before serving. The texture holds up perfectly.
This recipe is more than just a list of ingredients. It’s a piece of my family’s history, and I’m so happy to share it with you. The process of making this rocky road is simple, but the result is pure magic.
It’s the perfect project for a quiet afternoon. I hope you find as much joy in making it as we have. From our table to yours, this is a tradition worth starting. If you love this, you might also enjoy my monster cookie brownies for another fun treat, or a decadent brown butter brookie. For a special occasion, this chocolate Easter egg nest cake is always a hit. And if you’re a fan of bread pudding, don’t miss this chocolate croissant bread pudding. I truly hope you make this Rocky Road and create your own sweet memories.
If you enjoyed the simplicity of this rocky road, you might be looking for other easy treats that don’t require an oven. Here are a few more family favorites that are just as simple and satisfying.
Cookie Monster Ice Cream – A playful, colorful frozen treat that’s a guaranteed hit with kids and kids-at-heart.
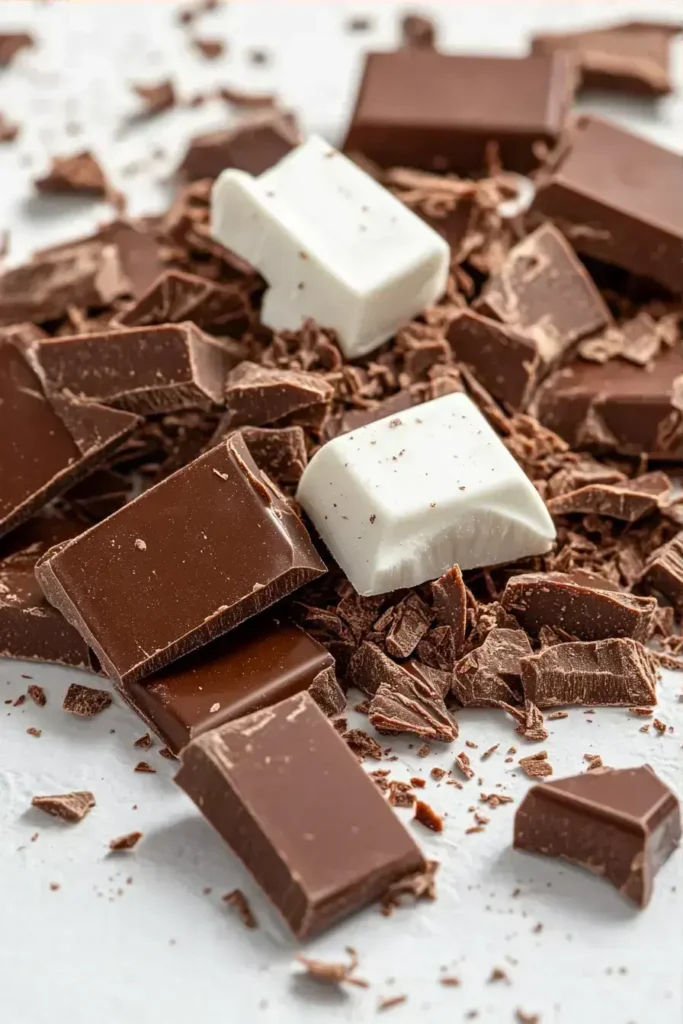
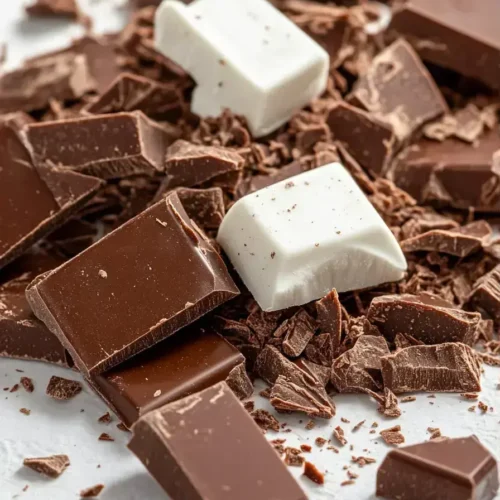
Traditional Rocky Road is made from a combination of melted chocolate, mini marshmallows, and nuts. My recipe uses a blend of semisweet and milk chocolate, along with peanuts and graham cracker pieces for extra texture and flavor. It’s a classic no-bake chocolate marshmallow dessert.
The name “Rocky Road” comes from the bumpy, uneven appearance of the dessert. The marshmallows and nuts create a texture that looks like a rocky path. This homemade rocky road gets its name from this charming, textured look.
Yes, you can absolutely freeze Rocky Road. It freezes very well for up to three months. Place the squares in a single layer in an airtight container separated by parchment paper. Thaw in the refrigerator overnight before serving for the best texture.
When stored properly in an airtight container in the refrigerator, your easy rocky road bars will stay fresh for up to two weeks. The chocolate and nuts preserve well, making it a great make-ahead treat for gifts or parties.

Welcome to Mac Recipes! I'm here to prove that amazing home-cooked meals don't need to be complicated. From weeknight dinners to weekend treats, I create recipes that fit into your busy life—delicious, doable, and always worth making.
More About Me