Creamy & Delicious Peanut Butter Bars in Just 20 Minutes
Introduction
There’s nothing quite like the irresistible combination of silky peanut butter and rich chocolate, is there? Meet Peanut Butter Bars—the no-bake dessert that takes all the best parts of a peanut butter cup and turns them into an indulgent, easy-to-make treat. The best part? You don’t even need to turn on your oven, and these creamy, dreamy bars come together in just 20 minutes! Perfect for busy days (or nights when the sweet cravings hit hard), this recipe is proof that simple ingredients can yield big, bold flavors.
Did you know that peanut butter was invented in the late 1800s and became a household staple during the early 1900s? Since then, it’s worked its way into cookies, candies, and now…into these unforgettable bars! These Peanut Butter Bars are special because they’re the epitome of sweet-meet-savory perfection, with a buttery cracker crust and a decadent chocolate topping to tie it all together.
If you’re a fan of my No-Bake Chocolate Oat Bars, you’re going to absolutely love this recipe. It’s beginner-friendly, kid-approved, and the ultimate crowd-pleaser. Whether you want a dessert for a party, an after-school snack, or a holiday gathering, Peanut Butter Bars are here to save the day. Ready to dig in? Let’s get started!
What Are Peanut Butter Bars?
Peanut Butter Bars—just the name alone gets your mouth watering, doesn’t it? These aren’t your average dessert bars. They’re a no-bake wonder, where layers of creamy peanut butter meet the crunch of graham crackers and the sheer joy of a chocolate topping.
Where did they get their name? It’s obvious! They’re bars that taste like peanut butter heaven. Some say these bars are like bite-sized hugs for your taste buds, and we couldn’t agree more. Trust us, the way to a man’s heart is through his stomach, but this dessert wins over everyone! Whether you’re a peanut butter fanatic or just love no-fuss desserts, these bars are calling your name.
So, are you ready to roll up your sleeves and whip up this classic, beloved treat? Peanut Butter Bars go beyond being just snacks—they’re pure dessert magic.
Why You’ll Love These Peanut Butter Bars
1. Decadent Peanut Butter Goodness
The star of this dessert is, of course, the creamy peanut butter. Mixed with powdered sugar and a hint of butter, the base is a sweet and savory masterpiece. When you add the smooth layer of rich chocolate on top, you achieve a flavor that’s perfectly balanced. This isn’t just a dessert—it’s a full-on flavor experience that feels like a homemade peanut butter cup in bar form.
2. Save Money by Making Them at Home
Who needs to spend extra money on store-bought peanut butter desserts when you can make your own at home? Plus, when you prepare these bars in your kitchen, you know exactly what’s going into them—no artificial flavors or preservatives. The ingredients are all pantry staples, so you can whip these up without a grocery run.
3. A Dessert That Feels Like Comfort Food
Peanut Butter Bars are comfort food in every bite. They’re indulgent without being overly fussy, letting you enjoy that velvety peanut butter paired with chocolate. They’re the perfect remedy for a long day or a fun treat to share with family and friends.
If you’ve enjoyed making my Peanut Butter Blossoms, you’ll love this recipe’s simplicity and unbeatable flavor. Whether you’re looking for a quick dessert or something fun and portable, this recipe is sure to become a new favorite.
How to Make Peanut Butter Bars
Quick Overview
Making these bars couldn’t be easier! Everything comes together in one bowl for the peanut butter base, and the chocolate topping takes just two ingredients. The no-bake magic means you can whip them up in just 20 minutes. Yes, you read that correctly—you’re just 20 minutes away from dessert perfection!
Key Ingredients for Peanut Butter Bars
| Ingredient | Quantity | Special Preparation |
|---|---|---|
| Peanut Butter | 1 cup | Creamy is best, not chunky |
| Butter | ½ cup (melted) | Salted or unsalted works |
| Powdered Sugar | 1 ¾ cups | Sift for creamier texture |
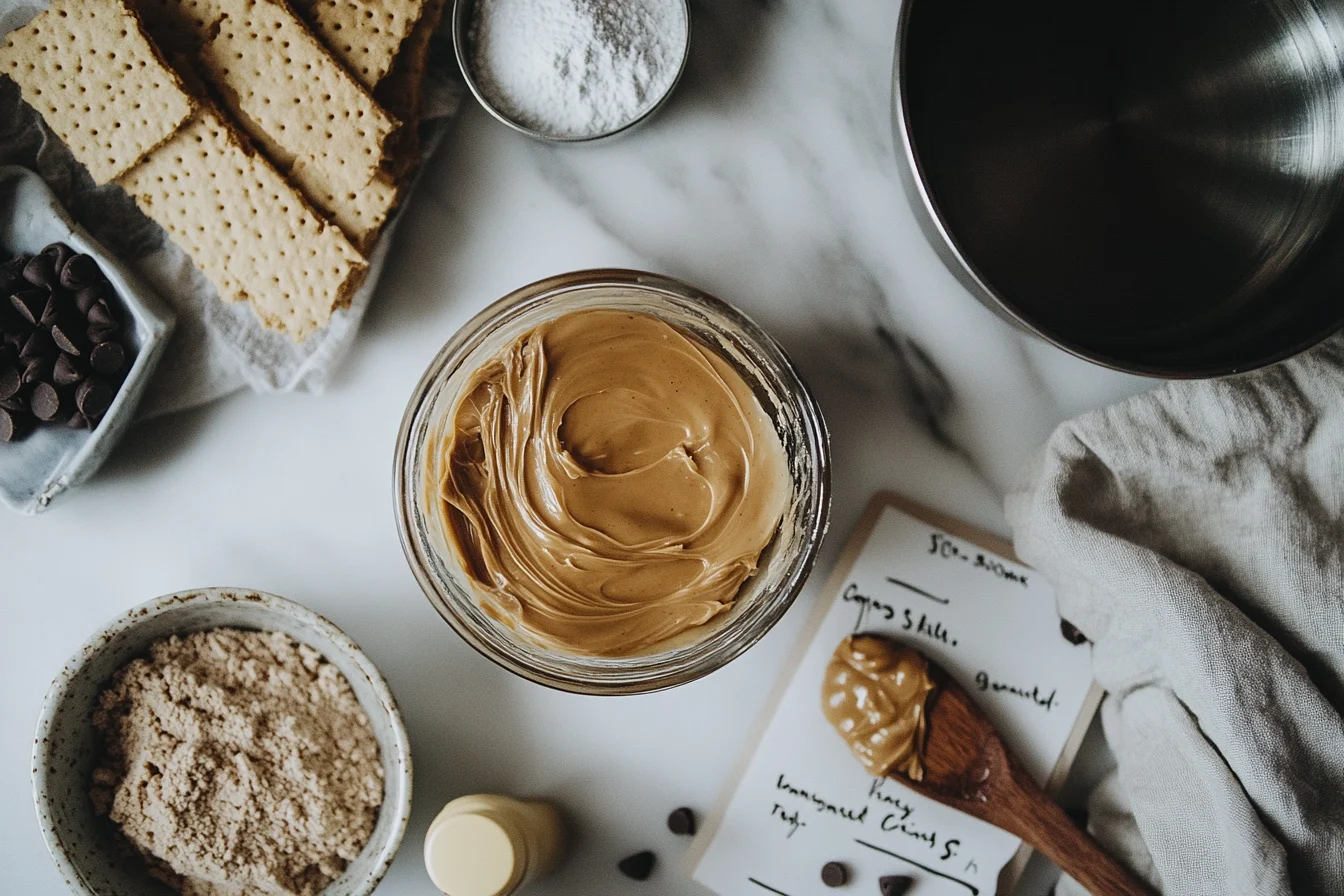
| Graham Cracker Crumbs | 1 ½ cups | Crushed finely |
| Semi-Sweet Chocolate Chips | 1 cup | Use high-quality for best flavor |
| Butter (for topping) | 2 tbsp | Adds shine to chocolate |

Step-by-Step Instructions
- Prepare the Peanut Butter Mixture:
- In a large mixing bowl, combine the peanut butter, melted butter, powdered sugar, and graham cracker crumbs.
- Mix until the ingredients are fully combined and a dough forms.
- Press into a Pan:
- Line an 8×8-inch square pan with parchment paper for easy removal.
- Transfer the peanut butter mixture into the pan and press it firmly into an even layer. Use the back of a spoon or your hands for a smooth finish.
- Make the Chocolate Topping:
- In a microwave-safe bowl, melt the chocolate chips and butter together in 30-second intervals, stirring in between, until smooth and glossy.
- Spread the Chocolate Topping:
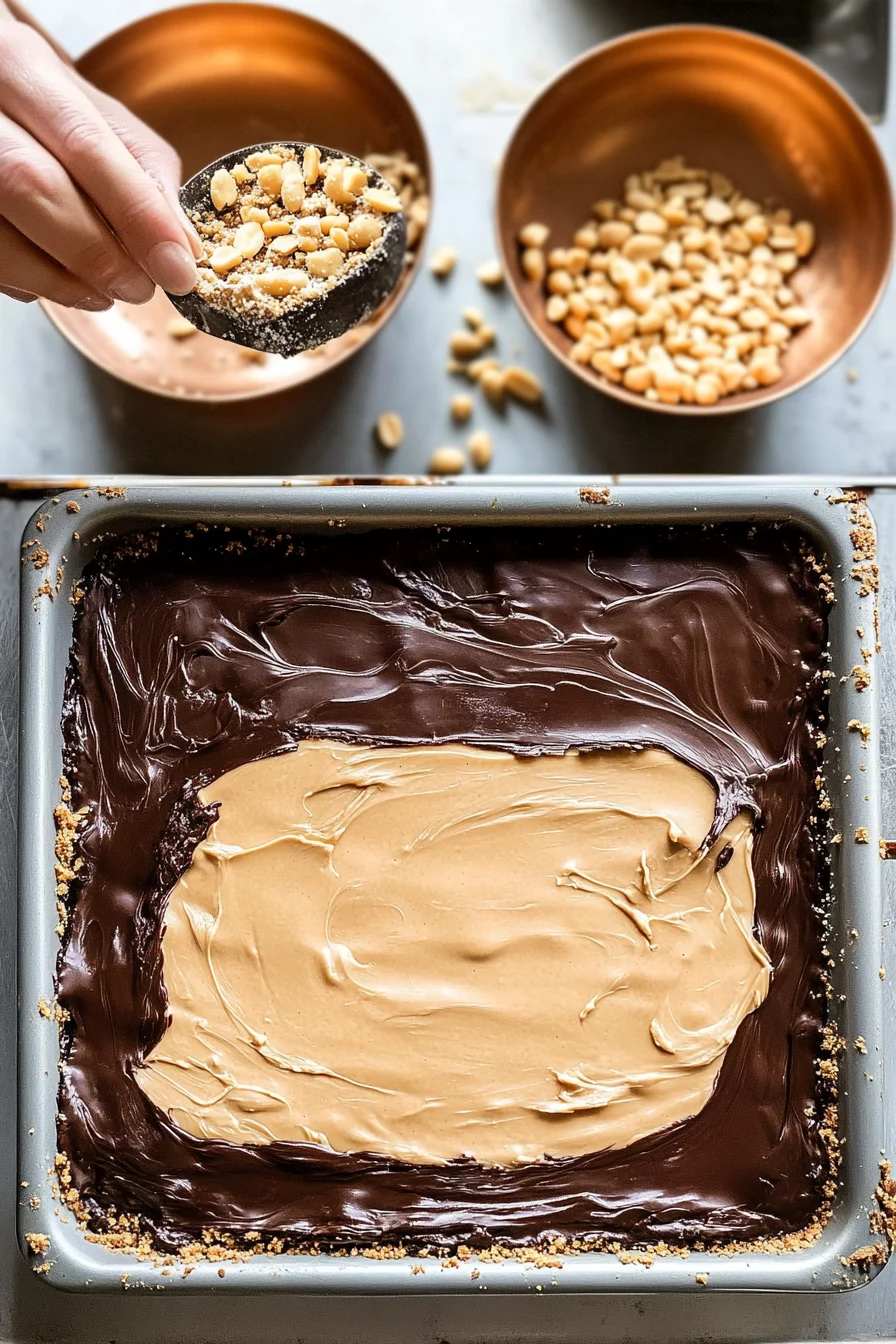
- Pour the melted chocolate mixture over the pressed peanut butter base, spreading it evenly with a spatula.
- Chill and Set:
- Place the pan in the refrigerator and chill for at least 2 hours, or until the chocolate is firm.
- Slice and Serve:
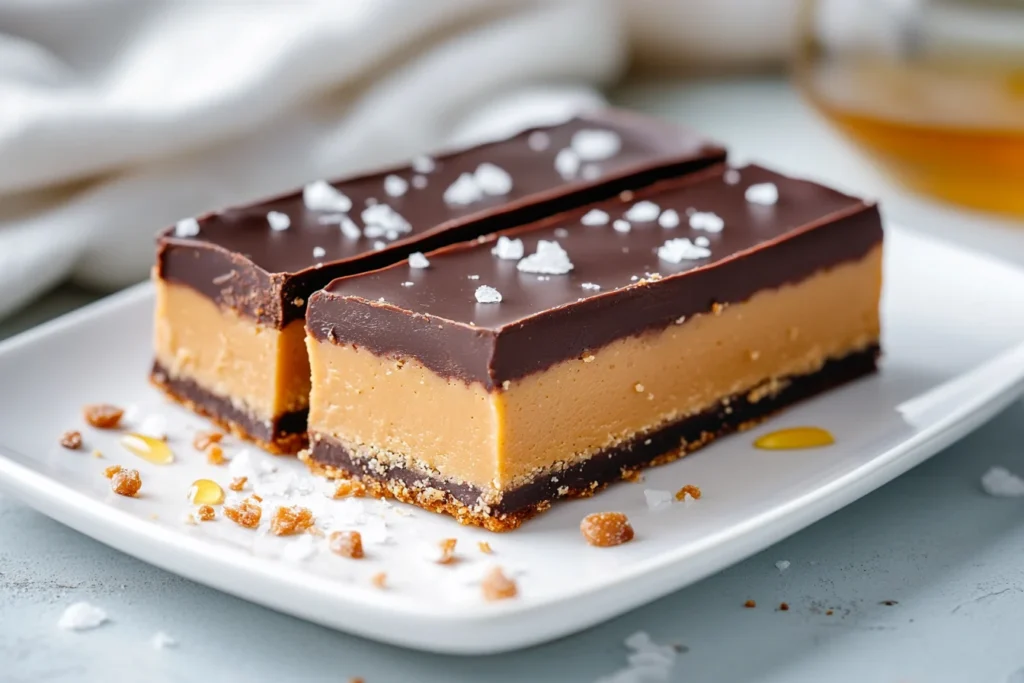
- Use a sharp knife to cut into squares or rectangles. Serve immediately or store for later!

What to Serve Peanut Butter Bars With
Pair these luscious dessert bars with:
- Hot Coffee or Espresso: The bitterness complements the sweetness perfectly.
- Cold Milk: A classic combo that never fails.
- Vanilla Ice Cream: Add a scoop on the side for a decadent treat.
For parties, serve them alongside fruit platters or mini brownies for variety.
Top Tips for Perfecting Peanut Butter Bars
- Use High-Quality Chocolate: The flavor of the topping makes all the difference. Semi-sweet or dark chocolate works best.
- Adjust Sweetness: If you prefer it less sweet, use unsweetened natural peanut butter and skip a bit of powdered sugar.
- Line Your Pan: Always use parchment paper to make slicing and removal a breeze.
- Chill Completely: Don’t skip the chilling step! It ensures that the bars hold their shape when sliced.
Storing and Reheating Tips
| Storage Method | How to Store | Shelf Life |
|---|---|---|
| Refrigeration | Store in an airtight container | Up to 1 week |
| Freezing | Wrap individually before freezing | Up to 2 months |
| Reheating | Slice and enjoy cold or room temp | Not recommended to heat topping |

FAQ’s About Peanut Butter Bars
- Can I use crunchy peanut butter?
Yes! Crunchy peanut butter adds texture, but if you want a smooth base, creamy is ideal. - What’s the best substitute for graham cracker crumbs?
Crushed digestive biscuits or shortbread cookies work wonderfully as alternatives. - Can I add toppings to the chocolate layer?
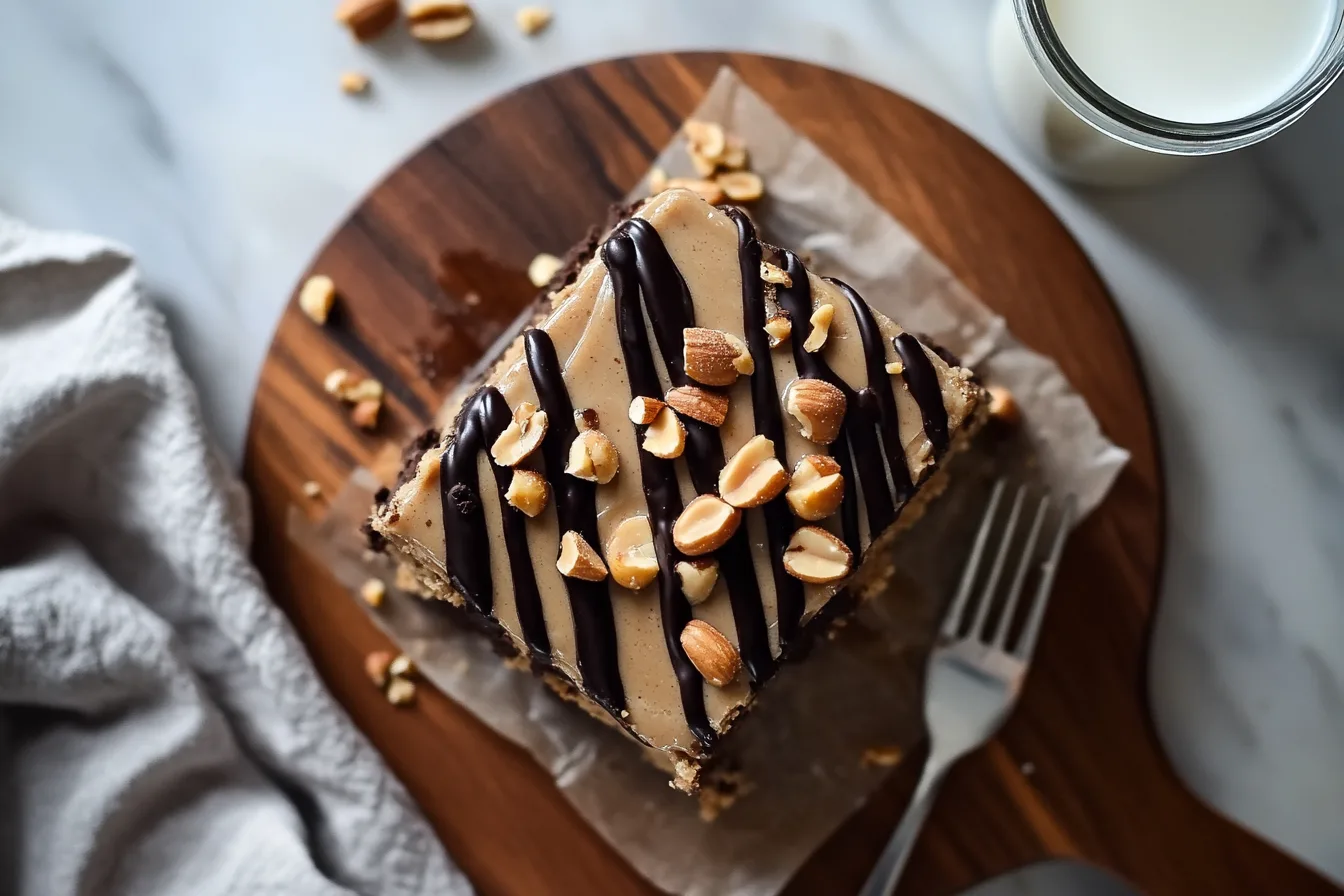
Absolutely! Add crushed peanuts, sea salt, or even sprinkles to customize your bars. - Can I make them dairy-free?
Yes, substitute butter with coconut oil and ensure your chocolate chips are dairy-free. - Why did my bars crumble when cutting?
Make sure to press the peanut butter base firmly and allow enough time to chill completely. - Can these be made gluten-free?
Yes, use gluten-free graham crackers or biscuit alternatives.
Final Thoughts
These Peanut Butter Bars are easy, cost-effective, and downright delicious. Whether you’re prepping for a party, indulging in a midnight snack, or surprising your family with a sweet treat, this recipe hits all the right notes. Try it today—and don’t forget to comment below with your results!


