Homemade Peanut Butter Recipe
This post may contain affiliate links.
Read our Disclaimer.
Leave a Comment ★★★★★
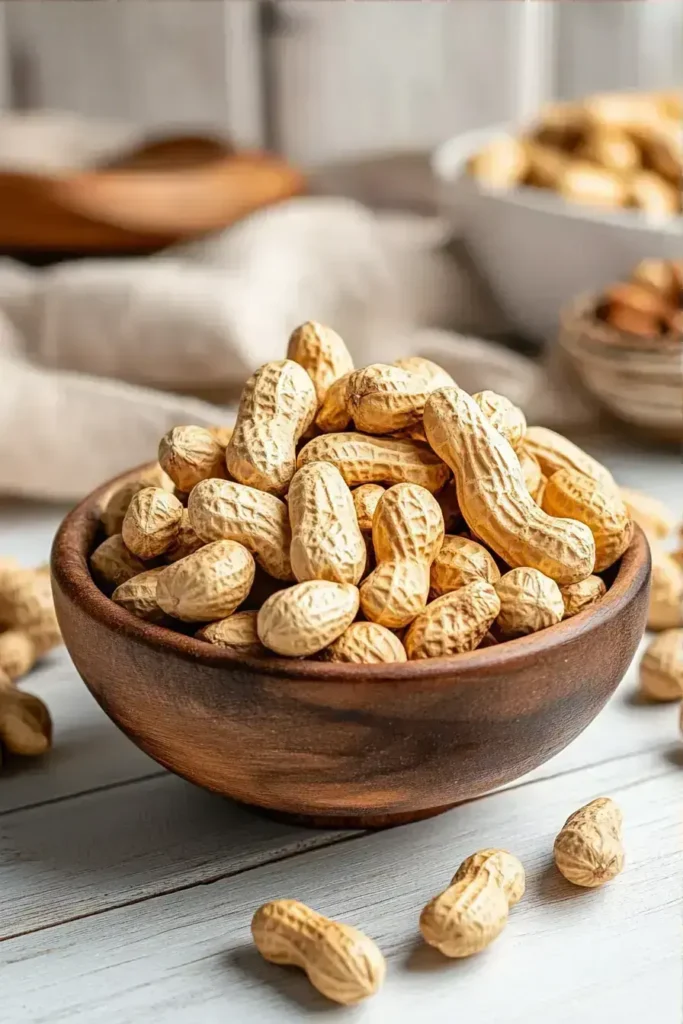
Making Peanut Butter at home is one of the simplest ways to elevate your pantry staples with chef-quality flavor. This Peanut Butter recipe requires just a few ingredients and a food processor for a result that’s fresher and more customizable than any store-bought jar. You control the salt, sweetness, and texture, creating a Homemade Peanut Butter that’s perfect for sandwiches, baking, or a simple spoonful.


I love that this recipe proves that quality doesn’t require hours in the kitchen. With a prep time of just 5 minutes and a “cook time” of about 5 minutes in the food processor, you can have a fresh jar of Homemade Peanut Butter ready in roughly 10 minutes total.
This makes it an ideal last-minute project. You can whip up a batch while other components of your meal are cooking. It’s faster than a trip to the store, and the result is far superior. For another quick and satisfying recipe, try my creamy peanut butter smoothie for a speedy breakfast or snack.
Adapting this Peanut Butter Recipe for various dietary needs is straightforward. For a sugar-free or low glycemic version, simply omit the honey. The natural oils in the peanuts provide plenty of richness on their own.
If you do prefer sweetness without the sugar, consider adding a pinch of cinnamon or a drop of vanilla extract for complexity. For those monitoring portion sizes, remember that nut butters are calorie-dense; a little goes a long way in terms of flavor and satisfaction.
In my kitchen, I’ve found a few techniques that consistently yield the best Creamy Peanut Butter. First, ensure your food processor bowl is completely dry before adding the peanuts. Any moisture can cause the butter to seize up.
This Natural Peanut Butter is not only delicious but also a nutrient-dense food. It’s a good source of plant-based protein and healthy monounsaturated fats, which are beneficial for heart health. It also provides dietary fiber, which aids in digestion and helps you feel full longer.
Compared to many commercial brands, your Homemade Peanut Butter avoids hydrogenated oils and high-fructose corn syrup. You can find more about the benefits of whole foods in your diet from reputable sources like the Harvard T.H. Chan School of Public Health. This simple spread is a fantastic addition to a balanced diet. Use it in this protein-packed granola or swirl it into a loaf of banana bread for extra richness.
If you’re looking to reduce calories or fat, you can make a slightly lighter version. Using dry-roasted peanuts minimizes added oil. You can also reduce the total amount of oil added at the end, though the texture will be thicker and more like a paste.
For a different nutty flavor with a similar nutritional profile, try making almond or cashew butter using the same method. These alternatives work wonderfully in recipes like chocolate chip cookies for a subtle variation.
I love the memory of my grandmother always having a jar of homemade Peanut Butter on her counter. It was the star of every afternoon snack. Beyond the classic PB&J, this versatile spread has endless uses.
Swirl it into oatmeal or yogurt, use it as a dip for apple slices and celery sticks, or create a savory peanut sauce for noodles. It’s the key ingredient for truly exceptional treats. For a festive option, try it in peanut butter blossom cookies or as a base for Valentine’s Day Oreo pops.

Even a simple recipe has pitfalls. A common question I hear is, “Why is my Peanut Butter not getting creamy?” This usually happens if you stop processing too early. The peanuts go from crumbs to a thick paste before finally becoming smooth. Be patient and let the machine run.
Another mistake is using stale or raw peanuts. Always start with fresh, roasted peanuts for the best flavor. Over-salting is also easy to do; remember you can always add more, but you can’t take it out. Start with the recommended amount and adjust to taste after blending. For more baking guidance, check out this resource from King Arthur Baking. Using your homemade butter in monster cookie brownies or Oreo brownies will give them an incredible depth of flavor.
I remember the first time I made this, I was amazed that such a simple process could yield something so much better than what I bought. It’s a small kitchen victory that feels deeply satisfying.
I always make a double batch to have some on hand. Proper storage is key. Transfer your finished Peanut Butter to a clean, airtight glass jar. Store it in the refrigerator, where it will stay fresh for up to a month.
The natural oils will separate over time; this is completely normal. Just give it a good stir before each use. For longer storage, you can freeze it for up to three months. Thaw it in the refrigerator overnight and stir well. This homemade butter is ideal for preparing make-ahead desserts like chocolate lasagna.
There’s a special pride that comes from making a staple like Peanut Butter from scratch. It connects you to your food in a way that opening a jar never can. I encourage you to give this method a try this weekend.
You’ll be amazed at the difference in flavor and texture. Once you experience the quality of homemade, it’s hard to go back. This Peanut Butter will become a cornerstone of your kitchen, perfect for everything from simple snacks to elaborate baked goods. Use it in this simple peanut butter cookie, peanut butter blossom cookies, chocolate brownie trees, or even cookie monster ice cream.
If you love the satisfaction of making your own Peanut Butter, you’ll adore using it in these decadent recipes. Each one showcases this versatile ingredient in a new and delicious way.
Your Homemade Peanut Butter will stay fresh for up to one month when stored in an airtight container in the refrigerator. The oils may separate, which is normal; simply stir them back in before using. For best quality and flavor, I recommend using it within three weeks.
A high-powered blender is the best alternative to a food processor for making Peanut Butter. It may require more stopping and scraping down the sides, but it will achieve a creamy texture. A standard blender might struggle with the thick paste, so a food processor is highly recommended for the best results.
If your Peanut Butter isn’t getting creamy, you likely need to process it longer. The peanuts go through stages: crumbs, a thick paste, and finally a smooth butter. Be patient and run the food processor for the full recommended time. If it’s still too thick after several minutes, add a small amount of neutral oil to help it emulsify.
You can use salted peanuts, but I recommend starting with unsalted. This gives you complete control over the final flavor. If you use salted peanuts, taste the Peanut Butter before adding any extra salt called for in the recipe. You may find you don’t need to add any at all.

Welcome to Mac Recipes! I'm here to prove that amazing home-cooked meals don't need to be complicated. From weeknight dinners to weekend treats, I create recipes that fit into your busy life—delicious, doable, and always worth making.
More About Me