Homemade Cookie Crust
This post may contain affiliate links.
Read our Disclaimer.
Leave a Comment ★★★★★
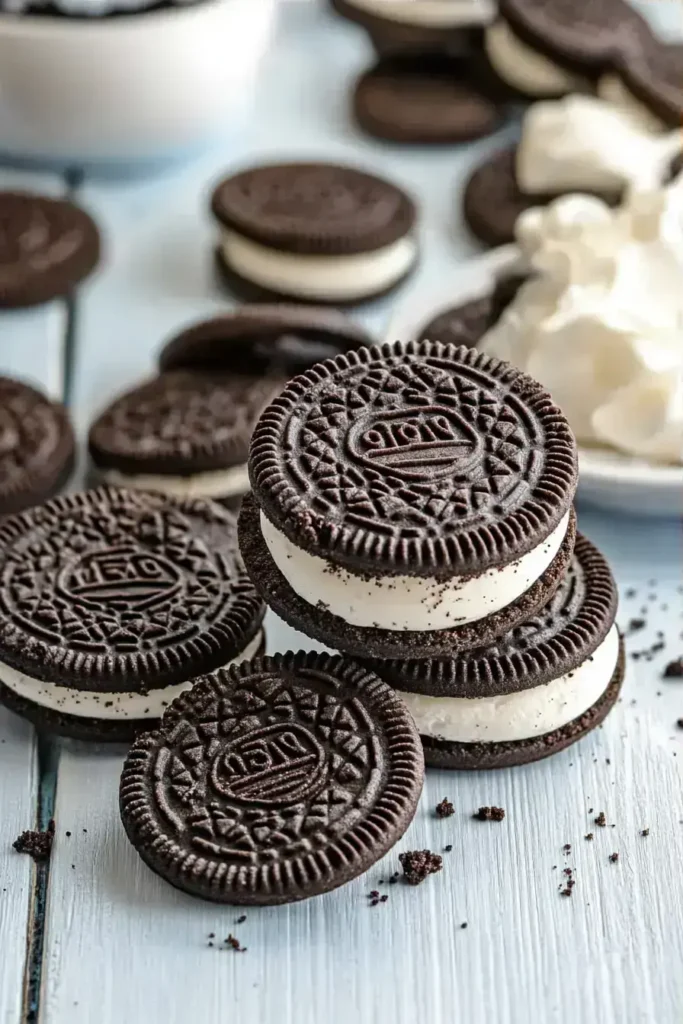
Creating the perfect Oreo Pie Crust is simpler than you might think, and it elevates any dessert from ordinary to extraordinary. This homemade Oreo crust requires just two ingredients and provides a rich, chocolatey foundation for your favorite fillings.


I always appreciate recipes that come together quickly, and this Oreo Pie Crust is one of those gems. With just 10 minutes of prep time and 10 minutes in the oven, you’ll have a professional-quality crust ready for filling. The total time investment is minimal, but the results are spectacular.
This quick recipe fits perfectly into busy schedules. Whether you’re preparing for a last-minute gathering or want to satisfy a spontaneous dessert craving, this easy pie crust recipe delivers. The hands-on time is minimal – just crushing cookies and mixing with butter. Then the oven does the work while you prepare your filling. I find this timing ideal for weeknight desserts or when I need to create multiple components for a special occasion dessert.
Compared to traditional pie crusts that require chilling and rolling, this homemade Oreo crust saves significant time. The efficiency doesn’t compromise quality though – you’re still creating a from-scratch element that elevates your dessert. For more quick dessert ideas, check out these Oreo brownies that pair beautifully with this crust technique.
As a chef, I believe everyone should be able to enjoy great desserts. While the classic Oreo Pie Crust contains gluten and dairy, with a few thoughtful adjustments, you can create versions that accommodate various dietary needs. The beauty of this crust is its simplicity – which makes substitutions straightforward.
For gluten-free needs, use gluten-free chocolate sandwich cookies instead of traditional Oreos. Many brands now offer excellent alternatives that crush and bind similarly. If you’re monitoring sugar intake, consider reducing the butter slightly and using sugar-free sandwich cookies. For dairy-free adaptations, substitute coconut oil or vegan butter for the regular butter. The crust may be slightly more fragile, but will still provide that delicious chocolate foundation.
After teaching countless students how to master dessert basics, I’ve discovered several techniques that guarantee crust success every time. The first secret is proper crushing – you want fine crumbs with some small pieces for texture. Use a food processor for most consistent results, or place cookies in a sealed bag and crush with a rolling pin.
These professional techniques ensure your Oreo desserts have the structural integrity to support luxurious fillings. Another great application of this crust technique is for chocolate lasagna where multiple layers need solid foundation.
While we typically think of desserts as treats, understanding their nutritional profile helps us make informed choices. This Oreo Pie Crust provides energy primarily from carbohydrates and fats. The chocolate cookies contribute iron and small amounts of calcium, while the butter adds vitamin A.
Compared to traditional flour-based crusts, this version offers more intense chocolate flavor with similar calorie content. The satisfaction factor is higher though – meaning you might ultimately eat less because the rich flavor is more satisfying. When balanced with fruit-based fillings or lighter creams, this crust can be part of a balanced approach to desserts.
For those interested in alternative crust options, consider exploring coconut crust variations or nut-based foundations. Each brings different nutritional benefits to your desserts. Remember that all foods can fit into a healthy lifestyle when enjoyed mindfully.
Sometimes you want the delicious flavor of an Oreo Pie Crust with fewer calories or less sugar. As a chef who believes in flexibility, I’ve developed several lighter approaches that maintain great texture and taste. The simplest adjustment is reducing the butter by about one tablespoon – the crust will be slightly more crumbly but still functional.
For more significant changes, try using reduced-fat sandwich cookies or combining regular Oreos with graham crackers for a hybrid crust. Another option is replacing half the butter with unsweetened applesauce – this adds moisture while reducing fat content. If you’re experimenting with sugar alternatives, be mindful that they can affect the crust’s binding properties.
I remember the first time I served a pie with this Oreo Pie Crust to dinner guests – the excitement was palpable. The deep chocolate color provides such a beautiful contrast to light fillings like cheesecake or vanilla pudding. For special occasions, I like to garnish with additional crushed Oreos or chocolate shavings around the edge.
This crust pairs wonderfully with so many fillings. Try it with chocolate mousse for ultimate chocolate indulgence, or with lemon curd for a sweet-tart combination. For summer gatherings, fill with no-bake cheesecake filling and top with fresh berries. The sturdy nature of this baked Oreo cookie crust supports even the richest fillings without becoming soggy.

If you’re planning a dessert buffet, consider making miniature versions in muffin tins. These individual servings are perfect for parties and allow guests to try multiple desserts. For more inspiration on Oreo-based treats, check out these holiday Oreo pops or this delightful cookie monster ice cream that would benefit from this crust foundation.
Over my years of teaching baking classes, I’ve seen students make the same few mistakes with crumb crusts. The most common issue is uneven crushing – if your crumbs range from powder to large chunks, the crust won’t bind properly. Aim for consistency like coarse sand with some pea-sized pieces for texture.
Another frequent error is insufficient pressing. Don’t be gentle! Really compact the crumbs into the pan using firm, even pressure. I like to use a flat-bottomed measuring cup for this task. Also, avoid the temptation to skip the baking step – those 10 minutes in the oven are crucial for helping the crust set and develop flavor.
Timing is everything with this easy pie crust recipe. If you add filling to a warm crust, it can become soggy. Always allow complete cooling before proceeding. For more guidance on dessert timing, explore this strawberry icebox cake that uses similar principles. The techniques you master here will help with other cheesecake preparations as well.
Proper storage ensures your Oreo Pie Crust maintains its perfect texture. If you’ve baked the crust but aren’t filling it immediately, wrap it tightly in plastic wrap and store at room temperature for up to 24 hours. For longer storage, freeze the baked crust for up to three months – just thaw completely before filling.
Once filled, most desserts featuring this crust should be refrigerated. The exception would be pies containing ice cream, which obviously need freezing. I recommend consuming filled pies within 3-4 days for optimal texture. If you need to make components ahead, the crust itself freezes beautifully – making holiday preparation much more manageable.
I hope this guide inspires you to try making your own Oreo Pie Crust. There’s something deeply satisfying about creating dessert foundations from scratch – especially when they’re this simple and delicious. Remember that even professional chefs started as beginners, and each recipe you attempt builds your confidence and skills.
This versatile crust opens up so many dessert possibilities. Whether you’re making a classic cheesecake, an elegant mousse pie, or experimenting with your own creations, this foundation will serve you well. The techniques we’ve covered today apply to many other dessert components as well. For more pastry inspiration, try this Boston cream pie, explore pumpkin pie variations, or attempt this beautiful homemade apple pie. Each represents another opportunity to practice and perfect your baking skills.
The journey to dessert mastery begins with foundations like this Oreo Pie Crust. With each creation, you’ll gain confidence and develop your own signature touches. What will you create first?
If you love this Oreo Pie Crust, you’ll adore these other creative Oreo desserts that showcase different techniques and flavors. Each brings something unique to the table while celebrating that classic chocolate cookie we all love.
Yes, you can create a no-bake Oreo crust by simply chilling it instead of baking. The texture will be slightly softer but still delicious. For no-bake versions, I recommend freezing for at least 2 hours before filling to ensure proper setting.
You’ll need about 24 regular Oreos to yield 1½ cups of crumbs for a standard 9-inch pie crust. This measurement creates the perfect thickness for supporting various fillings without being too thick or thin.
Absolutely! Pre-crushed Oreo crumbs work perfectly for this Oreo Pie Crust recipe. Use 1½ cups of the commercial crumbs and proceed with the recipe as directed. The convenience factor makes dessert preparation even quicker.
Proper binding is key to preventing crumbling. Ensure you use enough melted butter and press the mixture firmly into the pan. Using the bottom of a measuring cup to compact the crumbs creates a more stable crust structure.

Welcome to Mac Recipes! I'm here to prove that amazing home-cooked meals don't need to be complicated. From weeknight dinners to weekend treats, I create recipes that fit into your busy life—delicious, doable, and always worth making.
More About Me