Easy Halloween Mummy Muffins
This post may contain affiliate links.
Read our Disclaimer.
Leave a Comment ★★★★★
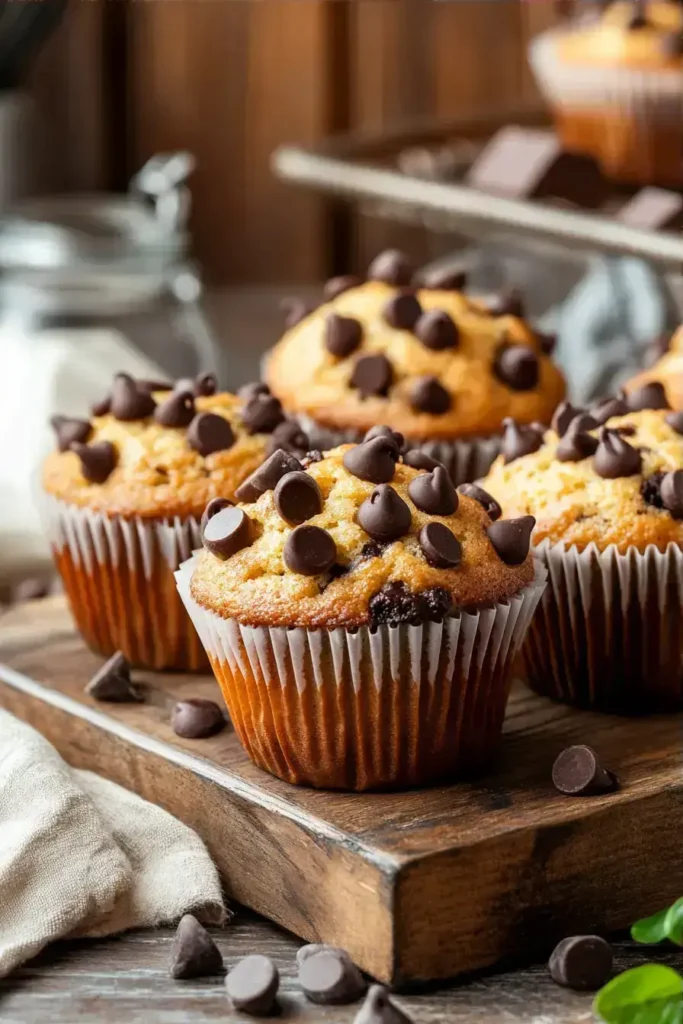
Transform ordinary muffins into spooky Halloween treats with these Mummy Muffins that are perfect for festive gatherings and cozy baking sessions. These adorable chocolate chip muffins wrapped in bandages will delight both kids and adults while filling your kitchen with the warm aroma of vanilla and chocolate. The simple technique creates professional-looking results that make holiday baking feel special and creative.


What I love about these Mummy Muffins is how quickly they come together – you’re looking at just 15 minutes of prep work and 20 minutes of baking time. This makes them ideal for last-minute Halloween party preparations or when you suddenly need a festive treat. The total time of 35 minutes means you can whip up a batch after work and still have them ready for evening gatherings.
Compared to other Halloween recipes that might require elaborate decorating techniques, these muffins keep things simple while delivering maximum visual impact. The timing works beautifully for busy weeknights when you want something special without spending hours in the kitchen. I’ve found this recipe particularly wonderful for involving kids in the baking process – they can help with the bandage wrapping while the muffins cool.
Try these coordinating Halloween treats for a complete spooky spreadAs someone who frequently adapts recipes for various dietary needs, I’ve found these Mummy Muffins wonderfully flexible. The base recipe accepts modifications beautifully, allowing you to create treats that work for nearly any dietary preference while maintaining that festive Halloween spirit.
For gluten-free needs, I recommend using a 1:1 gluten-free flour blend – the texture remains light and tender. If you’re watching sugar intake, reducing the granulated sugar to 1/2 cup still yields delicious results, and you can use sugar-free candy eyes. For dairy-free versions, plant-based butter and milk alternatives work perfectly without compromising flavor.
Having made these Mummy Muffins countless times for Halloween parties and classroom events, I’ve picked up some techniques that ensure professional results every time. The secret lies in paying attention to a few key details that transform good muffins into great ones.
While Mummy Muffins are certainly a festive treat, homemade versions offer nutritional advantages over store-bought alternatives. By controlling the ingredients yourself, you can create treats that satisfy sweet cravings while providing better quality nutrition.
These muffins contain essential nutrients from the eggs and dairy, including protein and calcium. Using real butter rather than margarine provides natural fats without artificial trans fats. The recipe’s flexibility allows for incorporating whole wheat flour for added fiber, or reducing sugar while maintaining great flavor. Homemade baking also means no preservatives or artificial ingredients commonly found in commercial Halloween treats.
Discover how pumpkin adds natural sweetness and nutrients to baked goodsIf you’re looking to lighten up these Mummy Muffins without sacrificing the festive fun, I’ve found several adjustments that work beautifully. The basic recipe adapts well to various dietary preferences while maintaining that adorable mummy appearance everyone loves.
For reduced sugar options, you can decrease the granulated sugar to 1/2 cup and use sugar-free candy eyes. Whole wheat flour can replace up to half of the all-purpose flour for added fiber. Greek yogurt can substitute for some of the butter to reduce fat while adding protein. The bandage wrapping technique remains the same regardless of adaptations, ensuring your lighter muffins still look perfectly spooky.
I’ll never forget the first time I brought these Mummy Muffins to my son’s classroom Halloween party – the kids’ faces lit up with delight when they saw the adorable bandaged treats. Presentation truly makes these muffins shine, and with a few simple serving ideas, you can create a memorable Halloween experience.
Arrange the muffins on a dark-colored plate to make the white bandages pop dramatically. Create a spooky scene with Halloween-themed decorations surrounding the platter. For individual servings, place each muffin on a small napkin or decorative paper liner. Serve alongside other Halloween treats like spooky cookies and festive brownies for a complete holiday spread.

Through years of making these Mummy Muffins, I’ve encountered nearly every possible mishap – from bandages that disappear during baking to muffins that spread too much. Learning from these experiences has helped me perfect the technique, and I’m happy to share these insights so you can avoid common pitfalls.
One frequent issue is overmixing the batter, which develops too much gluten and creates dense muffins. Another challenge involves the bandage application – if the dough strips are too thick, they won’t bake properly alongside the muffins. Ensuring your muffin tin is properly greased prevents sticking that can ruin the mummy effect. Candy eyes added after baking adhere best, while those mixed into the batter often disappear during cooking.
Learn from common decorating mistakes with other Halloween recipesProper storage ensures your Mummy Muffins maintain their freshness and adorable appearance. I’ve found these techniques work beautifully for keeping muffins tender and delicious whether you’re serving them the same day or preparing ahead for Halloween events.
Store completely cooled muffins in an airtight container at room temperature for up to 3 days. For longer storage, freeze the muffins without the bandage decorations on a baking sheet until solid, then transfer to freezer bags for up to 3 months. Thaw overnight and refresh in a warm oven before adding fresh bandages and eyes. The bandage decorations are best added shortly before serving to maintain their crisp appearance.
There’s something truly magical about watching ordinary ingredients transform into these adorable Mummy Muffins that bring smiles to everyone who sees them. The process feels like creating edible art, and the results never fail to impress at Halloween gatherings.
I encourage you to embrace the creative process and make these muffins part of your Halloween tradition. They’re perfect for classroom parties, neighborhood gatherings, or simply as a special treat that makes ordinary days feel festive. The technique becomes easier with practice, and soon you’ll be creating these spooky delights with confidence and joy.
Create a complete Halloween menu with these complementary recipesAbsolutely! Bake the muffins and freeze them undecorated for up to 3 months. The bandage decorations are best added fresh on serving day for optimal appearance and texture. This make-ahead approach makes Halloween preparation much more manageable.
Roll store-bought biscuit dough into thin, uneven strips for authentic mummy wrapping. Apply the strips in a crisscross pattern, leaving gaps for the eyes. The irregular thickness creates more realistic bandages that bake up perfectly alongside the muffins.
Yes, mini chocolate chips work best for distribution, but regular chips can be chopped slightly. Dark chocolate, milk chocolate, or even white chocolate chips all work beautifully. The key is using chips that will hold their shape during baking.
Ensure your oven temperature is accurate and watch carefully during the last 5 minutes of baking. If the bandages brown too quickly, tent loosely with aluminum foil. The bandage dough should bake to a light golden color that contrasts nicely with the muffin.

Welcome to Mac Recipes! I'm here to prove that amazing home-cooked meals don't need to be complicated. From weeknight dinners to weekend treats, I create recipes that fit into your busy life—delicious, doable, and always worth making.
More About Me