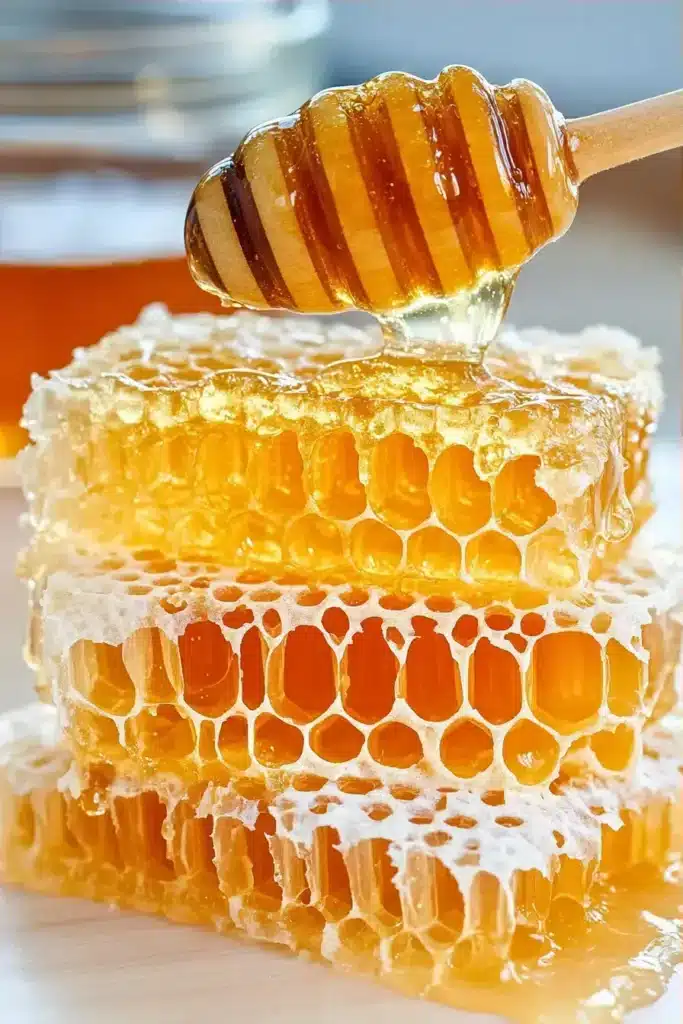
Homemade Honeycomb Candy
This post may contain affiliate links.
Read our Disclaimer.
Leave a Comment ★★★★★
Creating Honeycomb candy at home is a fantastic way to achieve professional-quality confectionery with a stunning texture and flavor. This Honeycomb recipe, also known as honeycomb toffee, is surprisingly simple and yields a light, airy treat that’s perfect for gifting or enjoying as a special dessert.


I always remind my students that candy making can feel intimidating, but this honeycomb recipe is wonderfully quick. With just 10 minutes of prep and 10 minutes of active cooking, you’ll have a delightful dessert ready in about 20 minutes total.
The process is mostly hands-off once the sugar mixture comes to a boil, making it perfect for a last-minute treat. Compared to other candies that require tedious stirring or tempering, this easy honeycomb is remarkably straightforward. For another quick dessert idea that’s ready in a flash, check out my recipe for Candy Bar Blondies.
While traditional honeycomb candy is sugar-based, I understand the need for sugar-conscious alternatives. For a lower glycemic option, you can experiment with sugar substitutes, but note that the texture may vary. Using a natural sweetener blend designed for baking can sometimes work, though I find the classic sugar version yields the most reliable results for that signature honeycomb texture.
Portion control is a great strategy for enjoying this honeycomb dessert while being mindful of sugar intake. Breaking the candy into smaller pieces makes it easier to enjoy a little treat without overindulging.
In my years of teaching candy making, I’ve found a few techniques that guarantee success. First, always have your baking soda measured and ready to go before the sugar reaches temperature. The reaction happens fast, and timing is everything.

As a confection, honeycomb candy is a treat to be enjoyed in moderation. It provides a quick source of energy from the carbohydrates in the sugar. While it’s not a significant source of vitamins or minerals, the joy and satisfaction of creating something delicious from scratch is a benefit in itself.
The process of making homemade honeycomb allows you to control the ingredients, unlike many store-bought candies. For a dessert that incorporates fruit, consider these Honey Roasted Carrots as a side dish. If you’re looking for a protein-rich main, my Honey Garlic Chicken Thighs are a fantastic option. For reliable nutritional information, I always recommend consulting a resource like the USDA FoodData Central.
Creating a truly sugar-free version of honeycomb is challenging because the sugar structure is essential for the chemical reaction with baking soda. However, you can make a lower-sugar brittle by reducing the granulated sugar and increasing the corn syrup slightly, though the texture will be chewier.
Another idea is to use this honeycomb as a garnish rather than the main event. Crumbled over a bowl of Greek yogurt or a fruit salad, a little goes a long way to add crunch and sweetness. For a dessert with a built-in fruit component, my Fruity Pebbles Cheesecake Tacos are a playful option.
I love presenting this honeycomb confection on a large platter for guests to break apart themselves. It creates a fun, interactive element to dessert. The irregular, golden pieces look beautiful and rustic.
Serve chunks of honeycomb alongside coffee or tea for a sophisticated afternoon treat. It also makes a wonderful edible gift when packaged in a clear cellophane bag tied with a ribbon. For another spectacular dessert perfect for sharing, you must try my Churro Cheesecake. You can also crumble it over ice cream or use it as a topping for a Caramel Croissant Bread Pudding for an incredible textural contrast.

Many first-timers make the mistake of stirring the syrup after it starts boiling. This can cause the sugar to crystallize on the sides of the pan and create a grainy texture. Once the sugar dissolves, let it be.
Another common error is not using a candy thermometer. The temperature is critical for the right consistency. If the syrup isn’t hot enough, the baking soda won’t create enough bubbles. If it’s too hot, the honeycomb can taste burnt.
Pouring the mixture into a thick layer is also a mistake. It should flow into a thin layer on its own. Spreading it can deflate the precious air bubbles you just created. For a recipe that teaches great technique for a different dessert, see my Coconut Macaroons. I also recommend reading up on sugar stages from a trusted source like King Arthur Baking.
I remember the first time I made honeycomb candy in culinary school; I was so nervous I’d mess it up. But when that foaming action happened, it felt like a true chef’s secret revealed. The key is confidence and trusting the process. My Monster Cookie Brownies are another recipe that seems complex but is actually very approachable.
This honeycomb candy is best enjoyed fresh on the day it’s made, as it can start to absorb moisture from the air and become sticky. If you need to store it, place it in a single layer in an airtight container at room temperature.
I like to put a piece of parchment paper between layers if I’m stacking it. Avoid storing it in the refrigerator, as the humidity can make it soft. For maximum crispness, try to consume it within 2-3 days. For a treat that stores beautifully, my Maple Walnut Muffins stay moist for days.
There’s a special kind of pride that comes from making candy at home. This honeycomb recipe is a perfect starting point because it’s so visual and rewarding. The moment you whisk in the baking soda and see the magical transformation never gets old.
I encourage you to give it a try this weekend. It’s a fantastic project to do with kids, as long as you handle the hot sugar. The result is a impressive, professional-looking treat that’s surprisingly simple. For more kitchen projects, explore my Honey Roasted Carrots and Parsnips, this version of Honey Roasted Carrots, or my Crispy Honey Garlic Tofu. Making your own Honeycomb is a delightful culinary experience you’ll want to repeat.
If you loved the process of making this honeycomb candy, you’ll adore these other dessert recipes that bring a touch of magic to your kitchen.
Honey Roasted Carrots and Parsnips – A savory-sweet side dish that caramelizes beautifully in the oven.
Traditional Honeycomb candy, or cinder toffee, is made from a simple syrup of sugar, corn syrup, and water that is boiled to the hard crack stage. Baking soda is then whisked in, causing a chemical reaction that creates countless air bubbles, giving the candy its signature light, airy texture. A bit of vanilla extract is often added for flavor.
If your honeycomb candy is soft or chewy instead of crunchy, the sugar syrup likely did not reach the correct temperature. Using a candy thermometer to ensure it reaches 300°F (the hard crack stage) is essential. Alternatively, the candy may have absorbed moisture from the air if not stored in an absolutely airtight container.
While possible, it is more difficult. Corn syrup is an invert sugar that prevents crystallization. You can substitute golden syrup or a tablespoon of lemon juice or vinegar added to the sugar water. However, the texture might be less consistent, and the candy could be more prone to becoming grainy.
For the best texture, enjoy your homemade honeycomb within 2-3 days. Store it in an airtight container at room temperature, away from humidity. Over time, it will inevitably start to soften and become sticky as it absorbs moisture from the air.

Welcome to Mac Recipes! I'm here to prove that amazing home-cooked meals don't need to be complicated. From weeknight dinners to weekend treats, I create recipes that fit into your busy life—delicious, doable, and always worth making.
More About Me