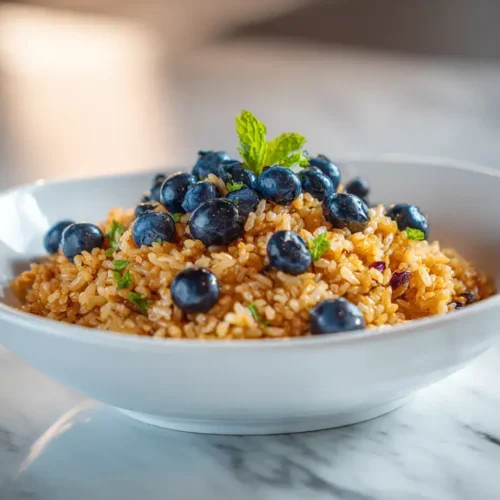
This hibachi-style fried rice brings the sizzle and savory flavor of your favorite Japanese steakhouse right to your kitchen. Using simple ingredients like day-old rice, soy sauce, and a blend of fresh vegetables, you can create a restaurant-worthy side dish in under 30 minutes. It’s the perfect, budget-friendly accompaniment to a weeknight dinner or a fun weekend meal.
I fell in love with the theatre of the teppanyaki grill during my travels, but it’s the humble bowl of fried rice that always captured my heart. There’s something truly comforting about the combination of fluffy rice, savory soy, and the subtle caramelization that only a hot skillet can provide. I love making a big batch to serve alongside my classic hibachi steak or a simple portion of garlicky hibachi shrimp for a complete and satisfying feast at home. It turns an ordinary Tuesday into a special occasion.
What Makes This Fried Rice So Irresistible
- Authentic Restaurant Flavor: You achieve that signature smoky, savory taste without any special equipment.
- Unbelievably Quick & Easy: This dish comes together in one skillet in about 20 minutes from start to finish.
- Perfect for Customizing: It’s a fantastic base for adding your favorite proteins or extra veggies.
- Excellent for Meal Prep: It reheats beautifully, making it a stellar make-ahead lunch option.
Your Guide to Hibachi Fried Rice Ingredients
Be sure to see the recipe card below for the full listing of ingredients, instructions, notes, and estimated nutritional information.
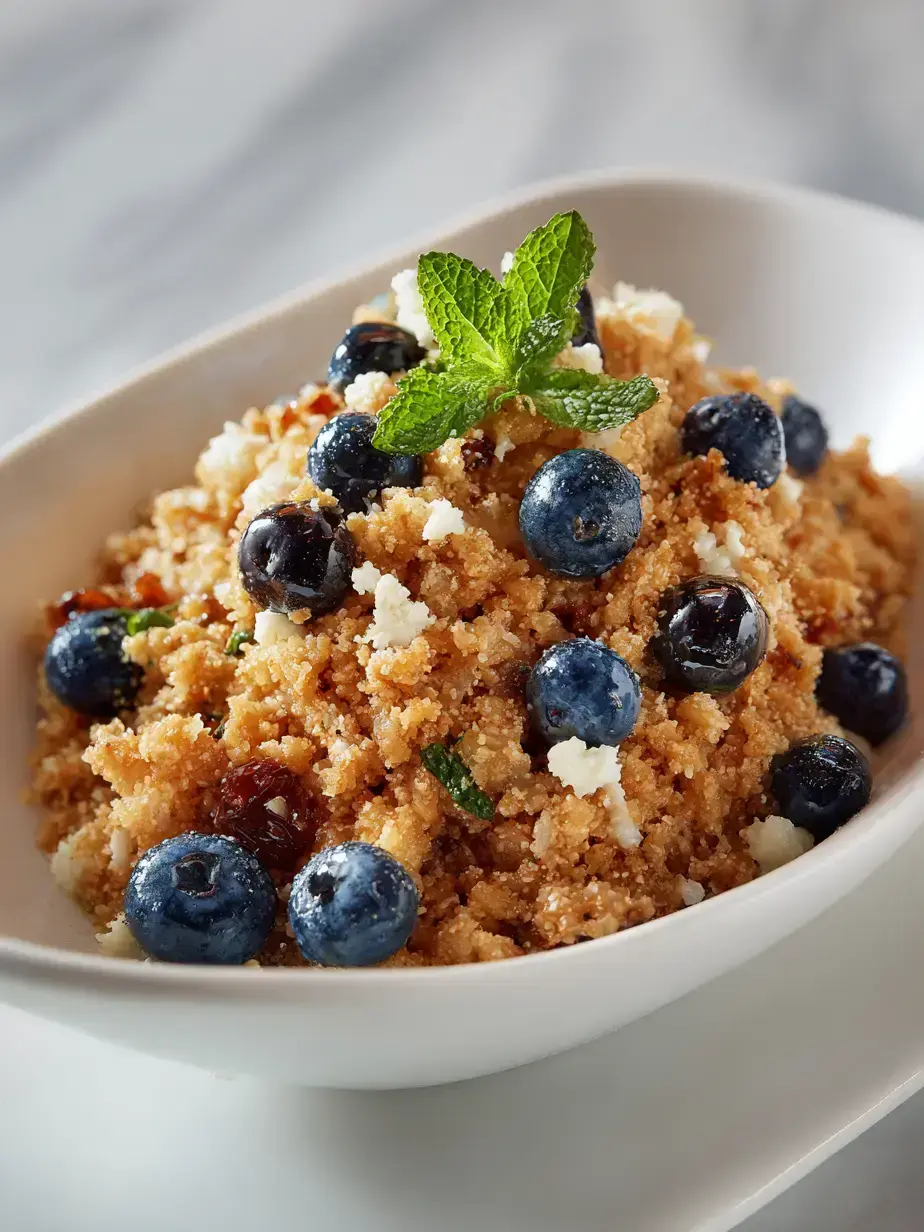
- Day-Old Rice: Using chilled, previously cooked rice is the secret to achieving those perfect, separate grains.
- Soy Sauce: This provides the essential salty, umami foundation for your Japanese fried rice.
- Sesame Oil: A drizzle at the end adds an authentic, nutty aroma and flavor.
- Vegetables (Onion, Carrots, Peas): This classic trio adds color, texture, and a subtle sweetness.
- Eggs: Lightly scrambled eggs mixed throughout add protein and richness.
- Butter: A little butter, along with oil, gives the rice incredible flavor and helps with browning.
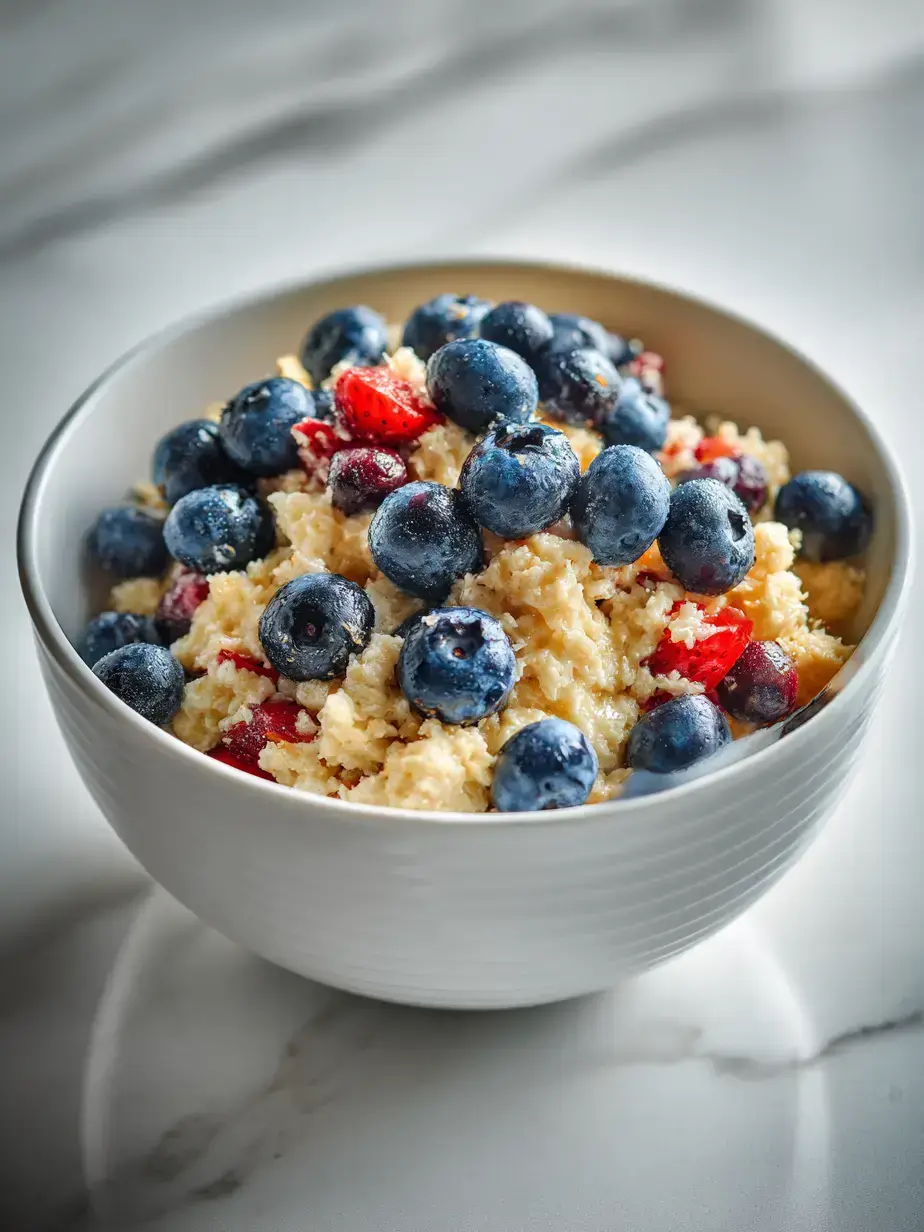
Buttery Blueberry Loaf
Make a moist and delicious buttery blueberry loaf at home with this easy recipe. Golden and fluffy with bursts of fresh blueberries, perfect for any time of day.
Prep Time 15 minutes mins
Cook Time 55 minutes mins
1 hour hr 15 minutes mins
Total Time 2 hours hrs 25 minutes mins
Course Dessert, Snack
Cuisine American
Servings 10 slices
Calories 280 kcal
mixing bowl
oven
loaf pan
whisk
rubber spatula
measuring cups
measuring spoons
wire rack
knife
cutting board
Dry Ingredients
- 1 1/4 cups all-purpose flour
- 1 tsp baking powder
- 1/4 tsp fine salt
Wet Ingredients
- 1 cup granulated sugar
- 2 large eggs at room temperature
- 1/2 cup unsalted butter melted and slightly cooled
- 1 tsp pure vanilla extract
- 1/2 cup whole milk
Blueberries
- 1 cup fresh blueberries rinsed and patted dry
- 1 tbsp all-purpose flour for dusting the blueberries
Preheat your oven to 350°F (175°C). Generously grease an 8 1/2-by-4 1/2-inch loaf pan with butter or nonstick cooking spray.
In a medium bowl, whisk together the 1 1/4 cups of all-purpose flour, the baking powder, and the salt until well combined. In a separate large bowl, whisk the sugar and eggs together until the mixture is pale yellow and slightly thickened, about 1 minute.
While whisking constantly, slowly stream the melted butter and the vanilla extract into the egg-sugar mixture. Continue whisking until the mixture is smooth and fully emulsified.
Add half of the dry flour mixture to the wet ingredients and stir gently with a rubber spatula until just combined. Pour in all of the milk and stir until smooth. Finally, add the remaining dry ingredients and fold until no streaks of flour remain; be careful not to overmix the batter.
In a small bowl, toss the fresh blueberries with the 1 tablespoon of flour until lightly coated. Gently fold the floured blueberries into the batter until they are evenly distributed.
Pour the batter into the prepared loaf pan and spread it into an even layer. Bake on the center rack for 50 to 60 minutes, or until the top is golden brown and a toothpick inserted into the center of the loaf comes out clean, with just a few moist crumbs attached.
Let the loaf cool in the pan on a wire rack for 15 minutes. Then, carefully run a knife around the edges to loosen it, and invert the loaf onto the rack to cool completely, about 1 hour, before slicing.
Dusting the blueberries with flour helps prevent them from sinking to the bottom of the loaf. Be careful not to overmix the batter for the best texture.
Keyword blueberry, blueberry loaf, quick bread
Creative Ways to Customize Your Rice
- Protein Power: Stir in diced, cooked chicken or shrimp during the last few minutes of cooking.
- Spicy Kick: Add a teaspoon of sriracha or a sprinkle of red pepper flakes with the soy sauce.
- Extra Veggies: Incorporate finely chopped broccoli, mushrooms, or bell peppers for more color and nutrients.
My Pro Tips for Perfect Fried Rice
- Use Cold Rice: This is non-negotiable for avoiding mushy fried rice; freshly cooked rice will steam and clump.
- High Heat is Key: A very hot skillet or wok is essential for getting that signature “wok hey” or breath of the wok flavor.
- Prep Everything First: Have all your ingredients chopped, measured, and ready to go by the stove, as the cooking process is very fast. My guide to perfect hibachi vegetables has more great chopping tips.
- Don’t Overcrowd the Pan: Cook in batches if you’re doubling the recipe to ensure everything gets nicely seared.
How to Store and Reheat Your Leftovers
- Store: Let the rice cool completely, then transfer it to an airtight container. It will keep in the refrigerator for up to 4 days.
- Freeze: Portion the cooled rice into freezer-safe bags or containers. It can be frozen for up to 3 months. Thaw in the refrigerator overnight before reheating.
- Reheat: For best results, reheat in a skillet over medium heat with a tiny splash of water or soy sauce to refresh the moisture. Microwaving can make it rubbery.
- Make-Ahead Tip: You can chop all the vegetables a day in advance and store them in the fridge to make weeknight prep even faster.
Frequently Asked Questions
What is the secret to good hibachi fried rice?
The two biggest secrets are using cold, day-old rice and cooking over very high heat. Cold rice fries instead of steams, resulting in separate, non-mushy grains. High heat creates a slight char and smoky flavor that mimics the teppanyaki grill.
What kind of rice is best for hibachi fried rice?
Medium or short-grain white rice, like Calrose or Jasmine, is ideal because it has just enough starch to be slightly sticky when cold, but still fry up nicely. You can also use my method for perfect baked brown rice for a whole-grain option.
Can I make hibachi fried rice without a wok?
Absolutely. A large, heavy-bottomed skillet or cast-iron pan works perfectly. The key is to ensure the cooking surface is large enough so the rice and veggies aren’t crowded, allowing them to sear properly rather than steam.
What can I use instead of soy sauce?
For a gluten-free alternative, tamari is an excellent one-to-one substitute. You could also use coconut aminos for a slightly sweeter, less salty flavor profile. Liquid aminos are another popular option.
More Asian-Inspired Dishes to Try
Why This Hibachi Rice Beats Takeout
With its incredible savory flavor, perfect texture, and lightning-fast preparation, this homemade version will easily become your new favorite. It’s incredibly versatile and allows you to control the ingredients to your exact liking. I hope this recipe brings a little bit of joyful, sizzling theatre to your kitchen table tonight.