Perfect Chocolate Chip Cookies
This post may contain affiliate links.
Read our Disclaimer.
Leave a Comment ★★★★★
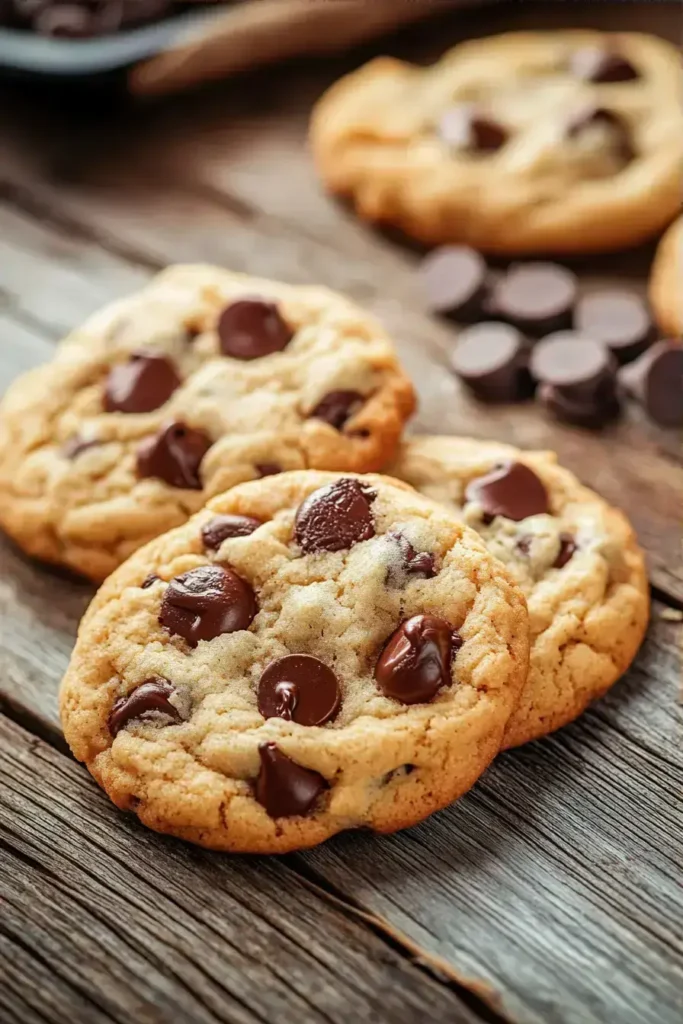
Making perfect Cookies at home is a rewarding baking project that brings the warmth of the bakery right to your kitchen. This recipe teaches you the professional techniques for achieving that ideal chewy center and crisp edge, ensuring your homemade treats are a hit every single time.


One of the best parts about Baking Cookies is how quickly you can go from craving to enjoying. With a prep time of just 15 minutes and a bake time of about 11 minutes, you’re only about 30 minutes away from warm, fresh-baked goodness.
This makes it an ideal last-minute treat for unexpected guests or a quick weeknight project. The hands-on time is minimal, and the reward is immense. For another dessert that comes together just as swiftly, check out my recipe for Peanut Butter Blossoms.
I believe everyone should be able to enjoy a great cookie. If you’re looking for a lower sugar option, you can successfully adapt this recipe. For a diabetic-friendly version, consider replacing the granulated sugar with a natural sweetener like stevia or xylitol, which have a lower glycemic index. You could also reduce the amount of chocolate chips or use a no-sugar-added dark chocolate.
After years in professional kitchens, I’ve learned that a few small details make a huge difference in cookie quality. Here are my top tips for ensuring your Homemade Cookies are perfect.
Flavor Swap: For a deeper, nuttier flavor, try browning your butter before adding it to the recipe. It adds a incredible complexity.
Diet Tweak: For a gluten-free version, use a 1:1 gluten-free flour blend. I find the results are excellent.
Texture Fix: Chilling the dough for 30 minutes before baking prevents excessive spreading, resulting in a thicker, chewier cookie. This is a key restaurant technique at home.
Storage Tip: Keep your baked cookies in an airtight container at room temperature to maintain their soft texture for days. For more chewy delights, try my Chewy Lemon Cookies or these fantastic Ginger Molasses Cookies.
While cookies are a treat, it’s helpful to understand what you’re enjoying. This recipe provides a good source of energy from carbohydrates. Using real butter and eggs contributes some fat and protein, which can help you feel satisfied. For a different take on a chocolate cookie with a rich flavor profile, explore my Brown Butter Chocolate Cookies. If you’re looking for a flourless option, these Flourless Chocolate Cookies are a great alternative. Remember, moderation is key, and you can learn more about balanced eating from reputable sources like the MyPlate guidelines.
If you want to lighten up this classic, there are a few simple tweaks. You can replace half the butter with applesauce or mashed banana for less fat. Using a dark chocolate chip with a higher cocoa percentage can also reduce the sugar content per serving. For a cookie that’s naturally a bit lighter, my Cranberry Orange Cookies offer a fruity twist.
I love serving warm cookies straight from the oven with a cold glass of milk—it’s a timeless combination that never fails to bring a smile. For a special occasion, plate them alongside a scoop of vanilla bean ice cream for an incredible cookie sundae. The contrast of temperatures and textures is pure magic.
These cookies also make a wonderful gift. Stack them in a cellophane bag tied with a ribbon, or present them on a beautiful plate for a neighbor. They pair wonderfully with a hot coffee or tea for an afternoon pick-me-up. For another fantastic cookie perfect for gifting, try my Cinnamon Roll Sugar Cookies or these lovely Valentine Strawberry Cookies.

Even experienced bakers can run into issues. Here’s how to avoid the most common pitfalls and ensure perfect Cookies every time.
Why are my cookies flat? This usually means your butter was too warm or your baking soda is old. Ensure your butter is softened but still cool to the touch, and check the expiration date on your leavener.
Why are my cookies cakey? Too much flour is the likely culprit. Always spoon and level your flour when measuring; don’t scoop directly from the bag.
How do I get chewy cookies? The combination of brown sugar and not overbaking is key. Take them out when the edges are golden but the centers still look soft. For more chewy inspiration, see my ultimate Chocolate Chip Cookies guide. Another great resource for troubleshooting baking issues can be found on King Arthur Baking’s blog.
I remember one holiday season I rushed and used melted butter instead of softened. The resulting puddle of cookies was a great lesson in patience! Learning these small techniques matters for professional results.
Nothing beats a warm cookie, but they store beautifully. Keep them in an airtight container at room temperature for up to 5 days. For longer storage, you can freeze the baked cookies for up to 3 months. I also love freezing portions of the dough itself; just scoop onto a sheet pan, freeze solid, then transfer to a bag. You can then bake a few fresh cookies anytime the craving strikes! For a cookie that stores exceptionally well, my Peanut Butter Cookies are a great choice.
I encourage you to try this recipe and experience the joy of creating bakery-quality treats in your own kitchen. The process is simple, the ingredients are straightforward, and the result is incredibly satisfying. Share them with friends and family, or keep the whole batch for yourself—you’ve earned it!
This recipe is a fantastic foundation. Once you master it, you can get creative with add-ins like nuts, dried fruit, or different types of chocolate. For more inspiration, explore my other Cookie Recipes like this festive Valentine’s Day Sugar Cookie Fudge, these pretty Strawberry Sugar Cookies, or even this fun Cookie Monster Ice Cream. Happy baking! I know you’re going to create some amazing Cookies.
If you loved this classic recipe, here are a few more of my favorite cookie creations that are sure to become new staples in your home.
Peanut Butter Blossom Cookies – A holiday classic featuring a soft peanut butter cookie topped with a chocolate kiss.
Classic Peanut Butter Cookie – Simple, chewy, and packed with peanut flavor, perfect for any day.
The secret lies in precision and technique. Accurate measuring of flour (spoon and level), using room temperature ingredients, and not overmixing the dough are crucial. Chilling the dough before baking also prevents spreading and develops flavor, leading to superior cookies.
To keep cookies soft, ensure you include moisture-rich ingredients like brown sugar and store them correctly. Once cooled, place them in an airtight container with a piece of bread; the bread will stale while the cookies stay soft for days.
Fluffy cookies result from using fresh baking soda or powder for proper lift, creaming the butter and sugar adequately to incorporate air, and potentially using more flour. Avoid using melted butter, which can lead to flat cookies.
I do not recommend using melted butter as a substitute for softened butter in this recipe. Melted butter will cause the cookies to spread excessively and become thin and greasy. Softened butter is key for creaming and achieving the right texture.

Welcome to Mac Recipes! I'm here to prove that amazing home-cooked meals don't need to be complicated. From weeknight dinners to weekend treats, I create recipes that fit into your busy life—delicious, doable, and always worth making.
More About Me