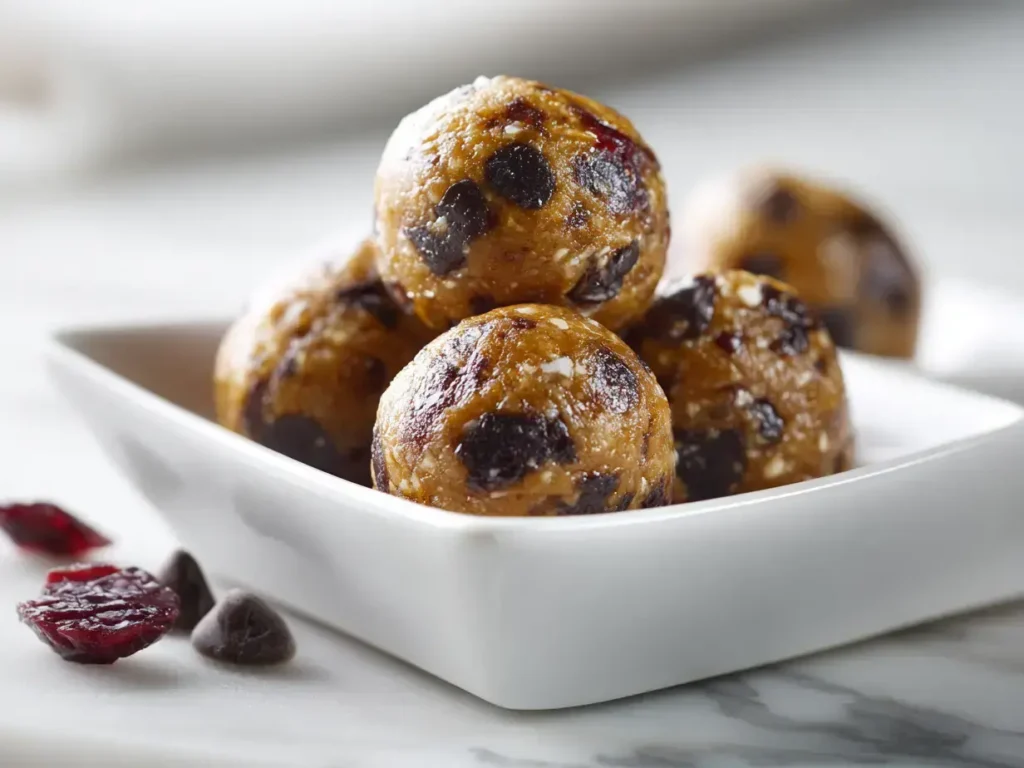
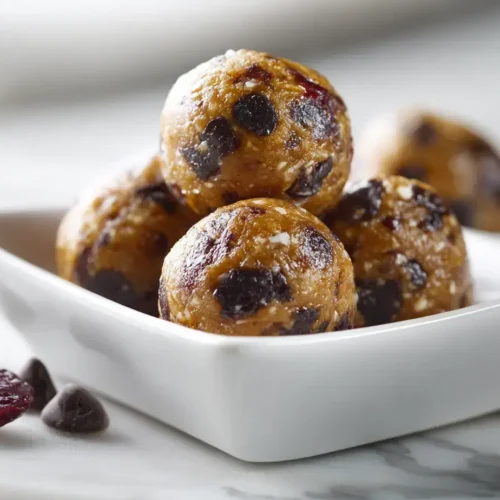
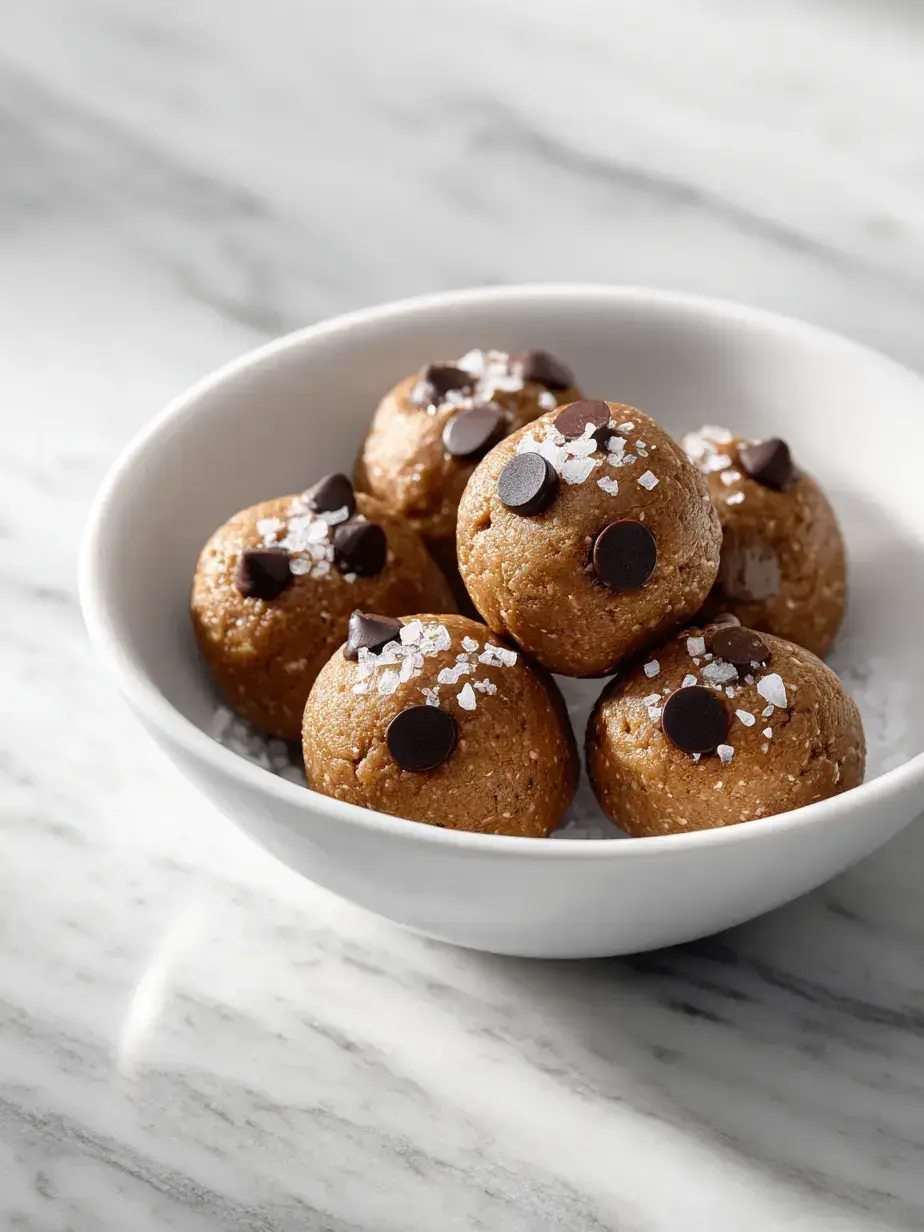
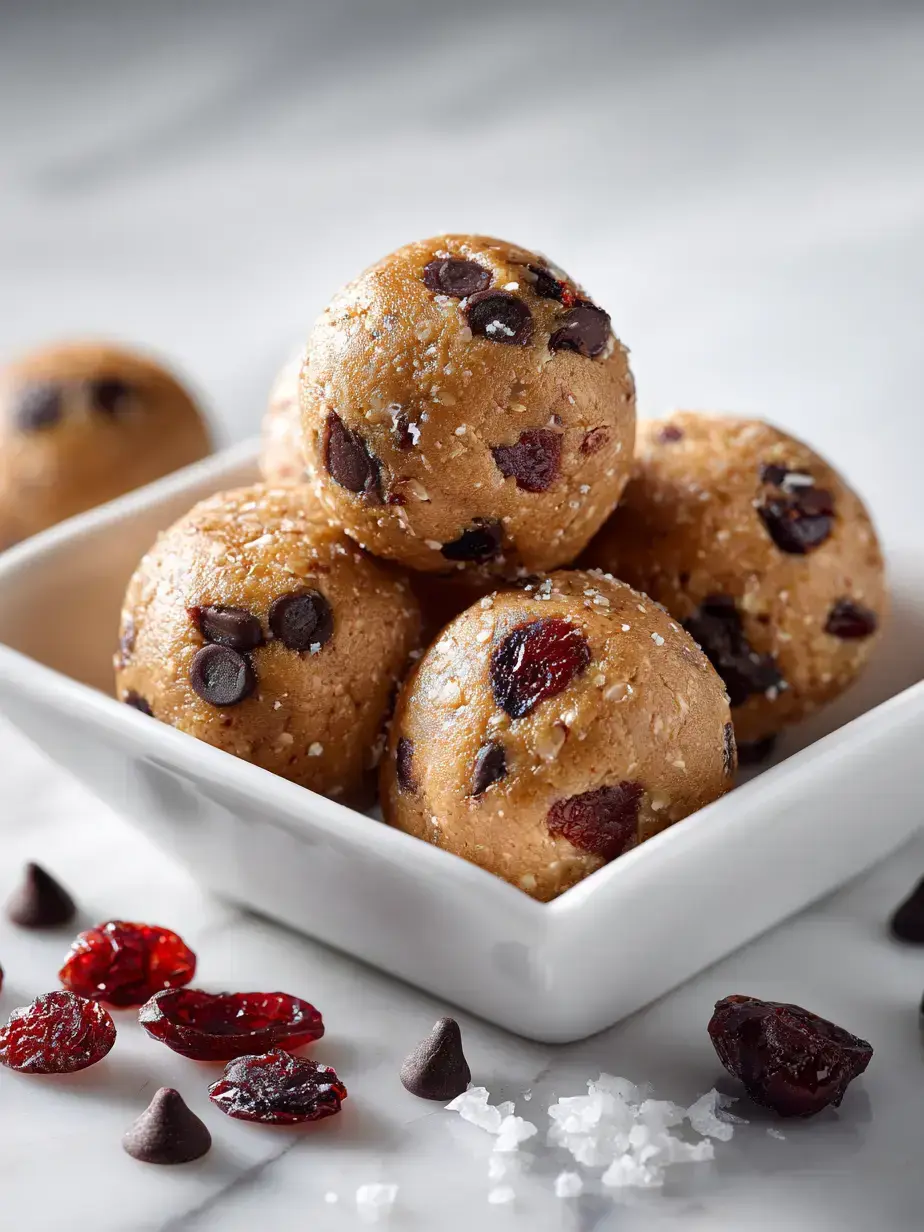
These classic energy bites are the wholesome snack you’ve been craving. Made with simple, nourishing ingredients like oats, nut butter, and natural sweeteners, they come together in minutes without any baking required. They are the perfect grab and go fuel for busy mornings or afternoon slumps.
I’ve been making these quick energy bites for years, and they are a permanent fixture in my freezer. They remind me of a bustling train station in Switzerland where I first tasted a similar snack, a perfect burst of sustenance before a mountain hike. I love packing them for road trips alongside a Thermos of tea, or serving them as a healthy dessert option after a cozy dinner. They pair beautifully with my hearty breakfast casserole for a weekend brunch spread or as a prelude to a slice of my favorite banana bread.
Why You’ll Love These Classic Energy Bites
- Effortless Preparation: These no bake energy bites require just a bowl and a spoon, with absolutely zero oven time.
- Wholesome Ingredients: You control exactly what goes into this healthy snack recipe, using pantry staples you can feel good about.
- Perfect for Meal Prep: Make a big batch on Sunday and have ready made snacks for the entire week.
- Kid-Approved Favorite: Their sweet, chewy texture makes them a guaranteed hit with the whole family.
Everything for Your Classic Energy Bites
Be sure to see the recipe card below for the full listing of ingredients, instructions, notes, and estimated nutritional information.
Base Ingredients
- Old-Fashioned Rolled Oats: Provides the foundational chewiness and whole grain goodness.
- Creamy Peanut Butter: Acts as the binder and adds delicious, rich flavor.
- Pure Maple Syrup: A natural sweetener that helps hold the balls together.
- Ground Flaxseed: Adds a nutty taste and a boost of healthy omega-3s.
- Vanilla Extract: A touch of warmth that enhances all the other flavors.
- Pinch of Sea Salt: Essential for balancing the sweetness and making the flavors pop.
Mix-In Suggestions
- Mini Chocolate Chips: For little bursts of sweetness in every bite.
- Shredded Coconut: Adds a lovely tropical flavor and chewy texture.
- Chopped Nuts or Seeds: Like almonds or sunflower seeds for extra crunch and protein.
Classic Chocolate Chip Cookies
Make these classic energy bites in minutes! A no-bake healthy snack packed with oats, nuts, and natural sweetness for a quick energy boost anytime.
Prep Time 15 minutes mins
Cook Time 10 minutes mins
5 minutes mins
Total Time 30 minutes mins
Course Dessert, Snack
Cuisine American
Servings 24 cookies
Calories 130 kcal
mixing bowl
oven
baking sheet
hand mixer
whisk
measuring cups
measuring spoons
spatula
- 1/2 cup unsalted butter softened
- 1/2 cup granulated sugar
- 1/2 cup light brown sugar packed
- 1 large egg at room temperature
- 1 tsp pure vanilla extract
- 1 1/4 cups all-purpose flour
- 1/2 tsp baking soda
- 1/2 tsp fine sea salt
- 1 cup semisweet chocolate chips
Preheat your oven to 350°F (175°C). Line a large baking sheet with parchment paper.
In a large mixing bowl, use a hand mixer or a sturdy spoon to cream the softened butter with both the granulated and brown sugars until the mixture is smooth, creamy, and pale yellow, about 2 minutes.
Beat in the egg and vanilla extract until they are fully incorporated and the mixture looks uniform.
In a separate medium bowl, whisk together the flour, baking soda, and salt. Add this dry mixture to the wet ingredients and stir just until no streaks of flour remain. Gently fold in the chocolate chips.
Drop rounded tablespoons of dough onto the prepared baking sheet, spacing them about 2 inches apart.
Bake for 10-12 minutes, or until the edges are set and lightly golden but the centers still look soft.
Let the cookies cool on the baking sheet for 5 minutes before using a spatula to transfer them to a wire rack to cool completely. They will firm up as they cool.
Let cookies cool on the baking sheet for 5 minutes to firm up before transferring.
Keyword chocolate chip, classic energy bites, cookies
Creative Recipe Variations
- Tropical Twist: Use almond butter instead of peanut butter and add dried pineapple and mango.
- Chocolate Lover’s Dream: Add two tablespoons of cocoa powder to the base mix along with the chocolate chips.
- Superfood Boost: Incorporate a tablespoon of chia seeds and use hemp hearts instead of flaxseed.
My Pro Tips for Perfect Bites
- Sticky Situation: If your mixture is too wet, add a bit more oats. If it’s too dry, add a teaspoon more maple syrup.
- Chill Out: Chilling the mixture for 20-30 minutes before rolling makes it much easier to handle.
- Uniform Size: Use a small cookie scoop to ensure all your energy balls are the same size for even setting.
- Prep for Success: For a fun twist, try my peanut butter bars which use a similar no bake method pressed into a pan.
How to Store Your Energy Bites
- Store: Keep your homemade protein bites in an airtight container in the refrigerator for up to 2 weeks.
- Freeze: These freeze beautifully. Place them in a single layer on a baking sheet to freeze solid, then transfer to a freezer bag for up to 3 months.
- Serve: They are best enjoyed chilled straight from the fridge or freezer. No reheating is needed.
- Make-Ahead Tip: This is the ultimate make ahead snack. I often double the batch so I always have a supply ready.
Frequently Asked Questions
Can I make energy bites without peanut butter?
Yes, absolutely. You can use any nut or seed butter you prefer. Almond butter, cashew butter, or sunflower seed butter all work wonderfully as a substitute.
How long do no bake energy bites last?
When stored properly in an airtight container in the refrigerator, they will stay fresh for up to two weeks. For longer storage, freezing is your best bet.
Can I use quick oats instead of old-fashioned oats?
Quick oats will work, but the texture will be less chewy and more dough like. Old fashioned oats give the best texture for these energy balls recipe.
Are energy bites healthy?
When made with wholesome ingredients like these, they are a healthy snack recipe. They provide sustained energy from complex carbs, healthy fats, and a bit of protein.
More Healthy Snacks You’ll Adore
Make These Classic Energy Bites Tonight
With their perfect chewy texture and customizable flavors, these classic energy bites are a snack you will make again and again. They are the ultimate solution for a quick, healthy pick me up that satisfies your sweet tooth. I hope this easy recipe becomes a staple in your kitchen as it has in mine.