Baked Brown Rice Recipe
This post may contain affiliate links.
Read our Disclaimer.
Leave a Comment ★★★★★
If you’ve ever struggled with gummy, undercooked, or just plain disappointing brown rice, I have a game-changing secret to share with you. My journey to the perfect Baked Brown Rice started in my grandmother’s cozy kitchen, where her old stove had one reliable burner. She taught me that the oven’s gentle, enveloping heat is the true key to flawlessly fluffy grains every single time. This method is not just a recipe; it’s a reliable technique that banishes the guesswork from cooking this wholesome staple.

Today, I’m passing on that wisdom. This guide will walk you through everything you need to know about creating the most delicious oven-baked rice you’ve ever tasted. We’ll cover the simple ingredients, the foolproof steps, and all my favorite tips for making it a versatile part of your family’s meals. So, preheat your oven and let’s get started on this simple path to rice perfection.
Table of Contents
You might wonder why you should bother heating up the oven for something you usually cook on the stovetop. The answer lies in consistency. The stovetop method can be finicky, with hot spots leading to uneven cooking. Conversely, baking brown rice creates a steady, dry heat that surrounds the dish, cooking each grain uniformly. This technique is genuinely the best way to bake brown rice if you value predictable, excellent results.
When you bake brown rice, magic happens inside that covered dish. The steam gets trapped, gently swelling each grain until it’s tender all the way through. This process coaxes out the nutty, earthy essence of the rice in a way that boiling sometimes misses. Furthermore, you avoid the dreaded mushy bottom layer or the crunchy, undercooked top layer that can plague stovetop versions. The result is a pot of rice where every single spoonful is perfectly cooked.
One of the biggest advantages of this easy baked brown rice method is the freedom it gives you. Once you slide the dish into the oven, you have a full hour to prepare the rest of your meal, help the kids with homework, or simply relax. There’s no need to watch a pot or adjust a flame. It’s a set-it-and-forget-it approach that simplifies weeknight dinners tremendously, making healthy eating feel effortless.
The beauty of this recipe is its simplicity. You only need four basic ingredients to create a fantastic side dish. However, choosing quality components makes a significant difference in the final outcome. Let’s break down why each item is essential for your baked brown rice recipe.
For this recipe, I strongly recommend long-grain brown rice. Its grains stay separate and fluffy after cooking, which is ideal for this method. While you can use short-grain, it tends to be stickier. The brand can matter, too; I find that reputable brands have fewer broken grains, which leads to a more consistent texture. Remember, baking long grain brown rice is our goal for that classic, non-clumpy result.
Using boiling water is a non-negotiable step for this perfect baked brown rice. It jumpstarts the cooking process, ensuring the rice begins to absorb water the moment it hits the dish. The butter, meanwhile, is more than just flavor. It adds a subtle richness that enhances the rice’s natural taste and helps prevent the grains from sticking together. For a dairy-free version, a mild olive oil works wonderfully.
You don’t need any fancy equipment to make great baked brown rice. In fact, you likely have everything required already in your kitchen. Having the right tools, however, guarantees the process goes smoothly and your results are consistently perfect.
An 8×8-inch baking dish is the perfect size for this recipe. I prefer ceramic or glass because they distribute heat evenly. A metal pan can work, but it may cause the edges to cook faster. The most critical feature is that the dish must have high enough sides to contain the water and rice without bubbling over. A tight-fitting lid can be used, but I find a double layer of heavy-duty aluminum foil creates the best seal for this oven-baked rice technique.
Beyond the baking dish, you’ll just need basic tools: a measuring cup for the rice and water, a utensil for spreading the rice, and a fork for fluffing at the end. A kettle or a saucepan to boil the water is, of course, essential. That’s it! This simplicity is what makes the recipe so accessible for anyone wanting to try this healthy baked brown rice method.
Now for the main event! Follow these steps closely, and you will master the brown rice bake technique on your first try. It’s a straightforward process, but attention to detail in the beginning pays off with fantastic results at the end.
First, preheat your oven to 375°F (190°C). This ensures a consistent temperature from the moment the dish goes in. Meanwhile, take your 8×8-inch baking dish and grease it lightly with a little butter or non-stick spray. This simple step prevents any sticking and makes cleanup a breeze. Then, measure out your rice and spread it in an even layer on the bottom of the dish. An even layer is crucial for uniform cooking in this one pot baked brown rice method.
Sprinkle the salt evenly over the rice and dot the surface with the pieces of butter. Now, carefully pour the boiling water over everything. The water should completely cover the rice. Immediately cover the dish tightly with a double layer of foil, crimping the edges well to seal in the steam. This sealed environment is what creates the perfect cooking conditions. Bake for exactly 1 hour. Resist the urge to peek, as that lets the precious steam escape!
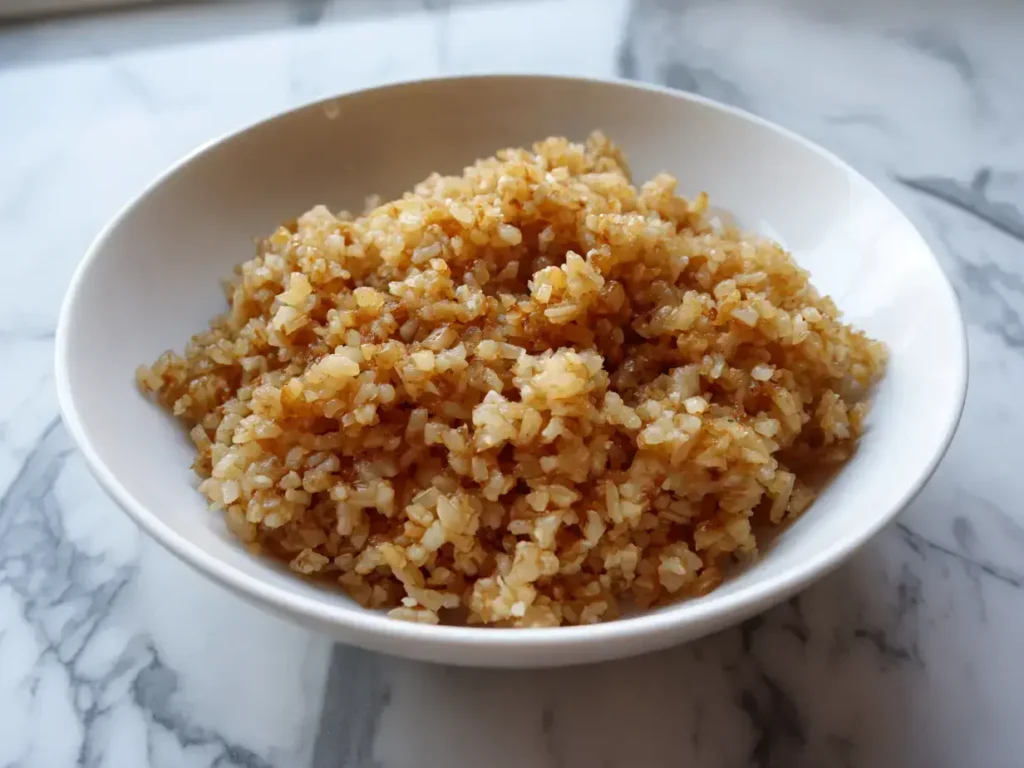
The hallmark of a great baked brown rice is its texture. We’re aiming for tender, distinct grains that are fluffy, not soggy. Achieving this is easy if you understand what to look for when the baking time is up.
After one hour, remove the dish from the oven. The rice should have absorbed all the water, and the grains on top will look tender and cracked open slightly. You should see no standing water at the bottom. If you do, recover it and bake for another 5-10 minutes. The goal is that fluffy baked brown rice texture that’s ideal for so many meals. It’s the same satisfying texture you want in a great batch of fudgy chewy brownies—consistent and perfect from edge to center.
If your rice is still crunchy, it likely needed more liquid or a tighter seal on the foil. If it’s mushy, you may have used too much water or the wrong type of rice. Don’t be discouraged! Brown rice can vary slightly by brand. Just note the adjustment for next time. Remember, the path to crispy baked brown rice for a topping is different; that involves spreading cooked rice on a sheet pan and baking it again until dry and crunchy.
Once you’ve mastered the basic recipe, the real fun begins. This seasoned baked brown rice method is a fantastic canvas for your culinary creativity. You can infuse it with so many different flavors to match any cuisine.
For an immediate upgrade, swap the water for vegetable or chicken broth. You can also add a bay leaf, a couple of crushed garlic cloves, or a sprig of thyme to the water before baking. These ingredients will perfume the rice beautifully as it cooks. For a brighter note, try stirring in a tablespoon of lemon zest after fluffing. These easy twists make this brown rice casserole base anything but boring.
Imagine the possibilities! For a Mexican-inspired side, add a pinch of cumin and chili powder with the salt. After baking, stir in chopped cilantro and a squeeze of lime. For an Asian twist, use coconut milk for half the water and add a knob of ginger. It’s as versatile as the base for my peach upside down cakes, where a simple formula welcomes incredible variety.
Your perfectly cooked baked brown rice is ready to shine at the dinner table. It’s a humble side dish that can anchor an entire meal. Here are some of my favorite ways to serve it, from simple weeknight dinners to more festive occasions.
This rice is the ideal partner for simple roasted chicken, grilled fish, or a quick stir-fry. It soaks up sauces beautifully and adds a wholesome element to the plate. I love making a big batch on Sunday to use throughout the week in grain bowls for lunch. It’s a reliable staple, much like a good batch of chewy lemon cookies is for satisfying an afternoon sweet tooth—always there when you need it.
Don’t just think of it as a side! You can easily transform it into a one pot baked brown rice casserole by adding ingredients before it goes into the oven. Try mixing in black beans, corn, and diced tomatoes for a Tex-Mex bake. Or, add browned sausage, chopped onions, and bell peppers for a hearty meal. The method is forgiving and adaptable.

Like many of our favorite dishes, this baked brown rice often makes leftovers. Fortunately, it stores and reheats beautifully, making it a fantastic meal-prep superhero. Proper storage is key to maintaining its lovely texture.
Allow the rice to cool completely to room temperature after fluffing. Then, transfer it to an airtight container. It will keep in the refrigerator for up to 5 days. You can also freeze it for up to 3 months. I portion it into freezer bags for easy use later. This makes it as convenient as having a batch of s’mores bars in the freezer for a quick treat—future-you will be grateful!
The best way to reheat your rice is to sprinkle a tablespoon or two of water over it and warm it in the microwave, covered, stirring halfway through. You can also reheat it in a skillet with a little oil or broth for a slightly crisper texture. Avoid reheating it multiple times, though. Always reheat only the amount you plan to eat immediately.
Yes, you can, but the results will be different. Short-grain brown rice has more starch and will yield a stickier, chewier result, similar to sushi rice. The cooking time and liquid amount may need slight adjustment. For the fluffy results described, long-grain is recommended.
Crunchy rice usually means it needed more liquid or more time. Ensure your foil seal was very tight and that you used boiling water. If it’s still crunchy after an hour, add a quarter cup of boiling water, re-cover tightly, and bake for another 10-15 minutes.
Absolutely! Double the ingredients and use a 9×13-inch baking dish. The cooking time may need to be extended by 10-15 minutes. Just check that the water is fully absorbed and the rice is tender before removing it from the oven.
Brown rice is naturally gluten-free. To make the recipe vegan, simply substitute the butter with an equal amount of olive oil or your favorite vegan butter alternative. It’s a wonderfully adaptable base for many dietary needs.
Boiling on the stovetop applies direct heat from the bottom, which can lead to uneven cooking. Baking uses indirect, ambient heat that surrounds the dish, resulting in more uniform tenderness without the risk of burning the bottom layer.
You can, but choose hard vegetables like diced carrots or onions. Softer veggies like zucchini might become mushy. It’s often easier to roast vegetables separately and mix them in after the rice is cooked and fluffed for the best texture.
Mastering this Baked Brown Rice recipe is like unlocking a kitchen superpower. It’s a simple, reliable technique that delivers fantastic results, meal after meal. Whether you serve it under a hearty stew, alongside a classic plum torte for a special dinner, or as part of your weekly meal prep, this method will never let you down. So, embrace the ease of the oven, and enjoy the perfectly fluffy, nutty brown rice you deserve. Happy baking!

Welcome to Mac Recipes! I'm here to prove that amazing home-cooked meals don't need to be complicated. From weeknight dinners to weekend treats, I create recipes that fit into your busy life—delicious, doable, and always worth making.
More About Me