Red Velvet Cake Pops
This post may contain affiliate links.
Read our Disclaimer.
Leave a Comment ★★★★★
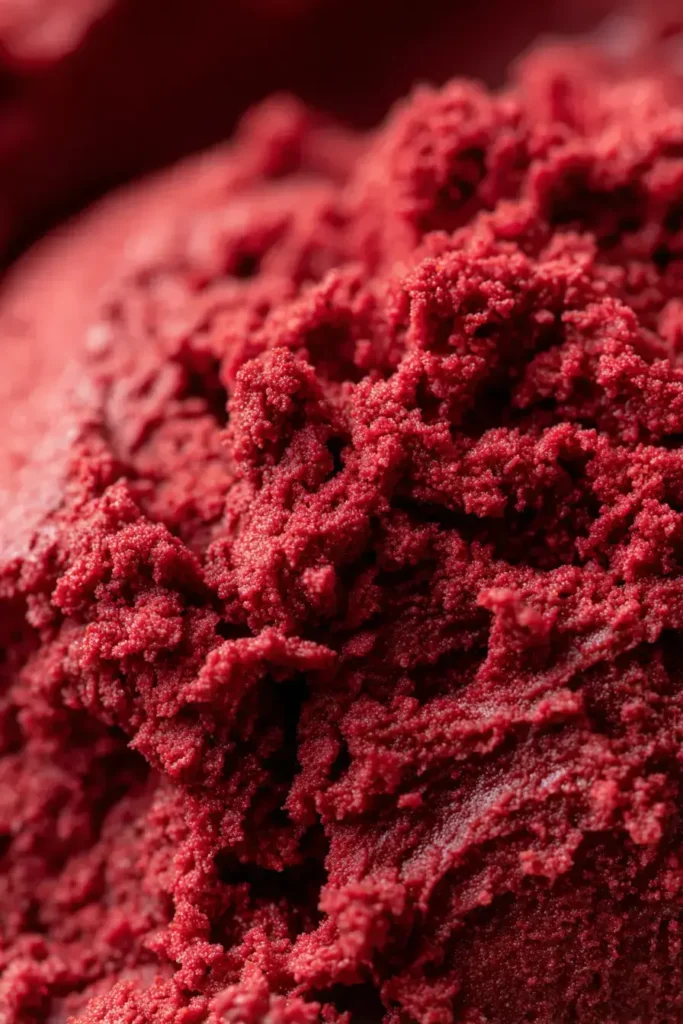
Making Red Velvet Cake Pops is a beautiful way to share a taste of celebration with everyone you love, turning a classic cake into a charming, handheld treat that’s perfect for parties and gifts.

Just like my Nonna always said, the soul of a great dish is in the quality of what you start with. For these cake pops, we’re using simple, beautiful ingredients that come together with so much love.

My dear, good things take time, but this recipe is mostly hands-off waiting. The active prep time is just about 30 minutes of joyful work. The real key is the chilling time—at least 2 hours—which ensures your Red Velvet Cake Pops are firm enough to dip without falling apart.
With a total time of about 2 hours and 30 minutes, this is a wonderful weekend project. It’s a cozy cooking ritual you can share with family, and the result is a batch of 48 beautiful pops perfect for any celebration. For another festive project that uses a similar technique, you might enjoy my Valentine’s Day Oreo Pops.
In our family, we believe everyone should have a sweet treat to enjoy. If you’re looking for a lower sugar option, you can certainly adapt this recipe with a few thoughtful swaps. While the classic cream cheese frosting is part of the charm, you can explore using a sugar-free cake mix and a frosting sweetened with a natural alternative like stevia for a more sugar-conscious version. Remember, a smaller portion is also a wonderful way to enjoy the flavor without overindulging.
Over the years, I’ve learned a few tricks that make all the difference. Here is my generational wisdom, shared with love.
While these are certainly a treat, it’s good to know what you’re enjoying. Red Velvet Cake Pops provide a little energy boost from the carbohydrates in the cake. The cream cheese frosting contributes a small amount of calcium. Because they are portion-controlled, they can be a fun way to enjoy a dessert without overdoing it. For another dessert that’s rich in fruity flavor, you might like my Strawberry Icebox Cake. And if you’re curious about the science behind baking, you can learn more about the science of cakes from a trusted culinary resource. For a different truffle-style treat, my Raspberry Truffles offer a fruit-forward option.
If you want to lighten things up a bit, you can use a reduced-fat cream cheese frosting and a cake mix labeled “light” or “lower sugar.” Another idea is to roll smaller cake balls, making more pops with less mixture per pop. For a deliciously different bar cookie that uses wholesome ingredients, try my Candy Bar Blondies.
I remember making a huge batch of these for my granddaughter’s first birthday. We stood them up in a block of styrofoam covered with wrapping paper, and it became the centerpiece of the dessert table. They looked like a beautiful bouquet of sweet flowers!

Serve these easy red velvet dessert pops at room temperature for the best flavor and texture. They are perfect alongside a cup of coffee or a glass of cold milk. For a holiday-themed variation, you could make my Mummy Oreo Balls. And if you’re a fan of the velvet cake family, don’t miss the unique twist of my Purple Velvet Cake.
We all learn from little mistakes, my dear. Here are a few to watch for so your cake pops are perfect from the start.
I learned these lessons the hard way so you don’t have to! For more troubleshooting tips on chocolate desserts, you can read about how to temper chocolate. And for another fantastic no-bake treat that avoids common baking pitfalls, try my Strawberry Shortcake Truffles. If you love brownies, my Monster Cookie Brownies are a crowd-pleasing combination.
These homemade cake pops are best stored in the refrigerator in an airtight container. They will keep for up to a week. You can also freeze them for longer storage; just place them in a single layer on a baking sheet to freeze solid, then transfer to a freezer bag. Thaw in the refrigerator overnight. For another dessert that stores beautifully in the freezer, my Churro Cheesecake is a fantastic make-ahead option.
I hope you’ll gather your family and try this recipe. The process of making these Red Velvet Cake Pops is just as sweet as eating them. It’s a chance to laugh, to get a little messy, and to create something beautiful together. The joy you pour into them will be tasted by everyone who is lucky enough to enjoy one. From my family’s kitchen to yours, I wish you a wonderful time baking. For more chocolatey delights, you must try my Chocolate Brownie Trees and my Raspberry Chocolate Truffle. And if you enjoyed the mini cheesecake bombs, there’s a second version you might love: Mini Cheesecake Bombs 2.
If you loved making these cake pops, your baking adventure is just beginning. Here are a few more recipes that bring that same joy and deliciousness.
Classic Red Velvet Cake – The timeless layer cake that started it all, perfect for big celebrations.
Purple Velvet Cake – A vibrant and whimsical twist on the classic, sure to impress.
Valentine’s Day Oreo Pops – Another fun and easy pop dessert, perfect for sharing love.
Mummy Oreo Balls – A spook-tacular treat that’s a hit at Halloween parties.
Mini Cheesecake Bombs – Creamy, bite-sized cheesecake delights coated in chocolate.
Raspberry Truffles – Elegant, fruity truffles with a rich chocolate coating.
Absolutely. While white chocolate candy melts are easiest for a smooth finish, you can use dark or milk chocolate melting wafers. Just avoid regular chocolate bars, as they don’t contain the stabilizers needed for a firm, snappy coating on these cake pops.
You can make the cake balls and store them in the fridge for up to 2 days before dipping. Once fully dipped and decorated, the Red Velvet Cake Pops will keep beautifully in the refrigerator for about a week, or frozen for up to 3 months.
Cracking usually happens when there’s a big temperature difference between the cold cake ball and the warm chocolate. To prevent this, let your chilled cake balls sit out for 10-15 minutes to take the chill off before dipping them into the melted chocolate.
No worries! You can use a colander turned upside down, a box with holes poked in it, or even a thick piece of cardboard. The goal is simply to have the pops stand upright so the chocolate can set evenly without getting a flat side.

Welcome to Mac Recipes! I'm here to prove that amazing home-cooked meals don't need to be complicated. From weeknight dinners to weekend treats, I create recipes that fit into your busy life—delicious, doable, and always worth making.
More About Me