Easy Cake Pops Recipe
This post may contain affiliate links.
Read our Disclaimer.
Leave a Comment ★★★★★
Making Red Velvet Cake Pops is a wonderful way to bring a touch of festive elegance to any gathering. This easy cake pops recipe transforms classic red velvet dessert flavors into delightful, handheld treats that are perfect for parties, gifts, or a sweet family project. I’ll share my family’s traditional method, passed down with love.


My dear, good things take time, and these Red Velvet Cake Pops are no exception. While the active prep time is just about 30 minutes, the magic happens during the chilling period. You’ll need to plan for about 2 hours of resting time in the refrigerator.
This allows the cake balls to firm up, which is the secret to a smooth dipping process. The total time from start to finish is around 2 hours and 30 minutes. Think of it as a cozy weekend project, much like my red velvet cinnamon rolls, where the waiting makes the final result even more special.
This timing is perfect for a relaxed baking session. You can crumble the cake, mix in the frosting, and shape the balls while chatting with family. Then, while they chill, you can tidy up and get your dipping station ready. It’s a peaceful, organized way to create a beautiful red velvet dessert.
In our family, we believe everyone should enjoy a sweet treat. If you’re sugar conscious or looking for a lower glycemic option, you can easily adapt this recipe. The key is in the ingredients you choose.
For a low-sugar version, seek out a sugar-free red velvet cake mix or use a homemade recipe with a natural sweetener like stevia or xylitol. Similarly, you can find sugar-free cream cheese frosting at most grocery stores. When it comes to the coating, look for sugar-free white chocolate chips sweetened with alternatives. Remember, portion control is also a wonderful way to enjoy treats mindfully.
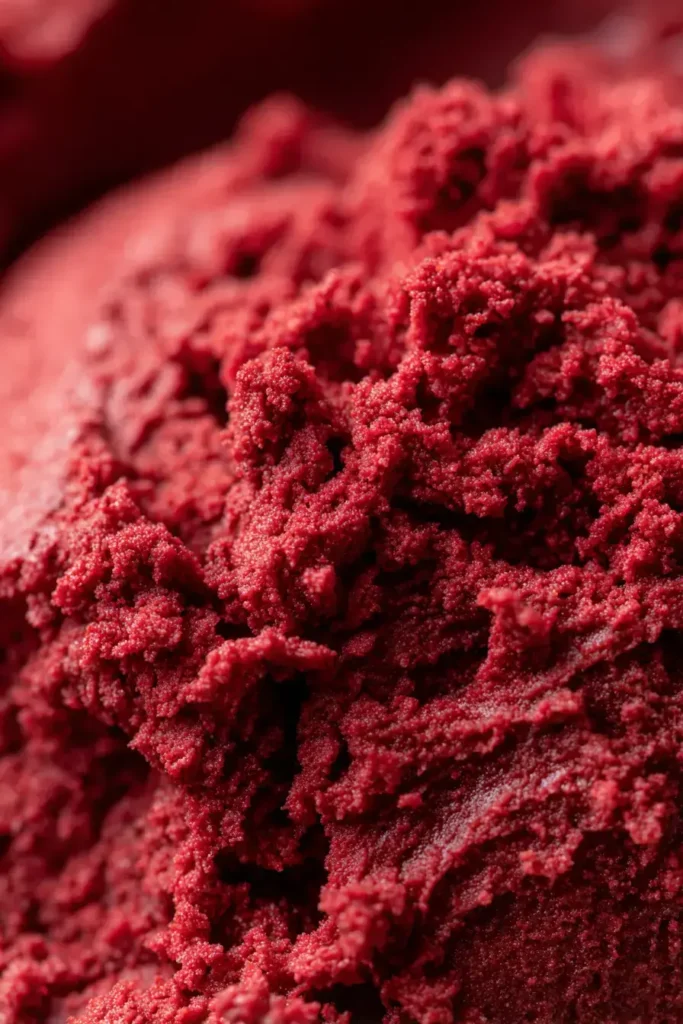
Over the years, I’ve learned a few tricks that make all the difference. First, always ensure your cake is completely cooled before crumbling; warm cake creates a gummy texture. For a flavor twist, you could use a purple velvet cake base for a fun variation.
If you enjoy other handheld treats, the technique here is similar to what you’d use for Valentine’s Day Oreo Pops. The principle of a firm center and a smooth coating is the same.

While these are certainly a treat, it’s nice to know what you’re enjoying. Red Velvet Cake Pops provide a bit of energy from carbohydrates and a small amount of protein. The red velvet cake typically contains cocoa, which offers flavonoids.
As with any dessert, the key is moderation. Pairing one with a glass of milk can make for a more balanced snack. If you’re looking for other fruity dessert ideas, you might also enjoy the vibrant flavors in my strawberry swirl cheesecake or the tangy sweetness of these raspberry cheesecake bars. For more general information on balanced eating, you can always consult resources like the MyPlate guidelines.
If you’d like to make a slightly lighter version of this red velvet dessert, it’s quite simple. You can use a cake mix that incorporates applesauce or yogurt to reduce the oil content. For the frosting, opt for a reduced-fat cream cheese frosting.
Another idea is to make mini cake pops by rolling smaller balls, which naturally creates smaller portions. This is a great trick for enjoying the flavor while keeping things modest. For another delicious bar cookie that’s easy to portion, try these candy bar blondies.
I love to present these Red Velvet Cake Pops standing upright in a styrofoam block covered with festive wrapping paper. It creates a beautiful centerpiece for a dessert table. They are perfect for baby showers, holiday parties, or as a special after-school treat.
For a real celebration, arrange them next to other favorites like fluffy coconut cream cupcakes or seasonal treats like pumpkin chocolate chip cupcakes. They pair wonderfully with a cold glass of milk, a cup of coffee, or even a sparkling cider for a toast.

Let’s walk through a few common stumbles so your cake pop journey is smooth. The most frequent issue is a cake ball that falls off the stick. This almost always happens because the balls weren’t chilled long enough. Patience is your best friend here.
Another question I hear is, “Why is my chocolate coating so thick?” If your white chocolate coating isn’t fluid enough, it will clump and look uneven. The solution is to add a small amount of vegetable shortening until it reaches the right consistency. If you’re looking for another fun chocolate project, the technique for this chocolate spider cake also relies on properly tempered chocolate.
Finally, if your cake mixture is too wet and sticky, you may have added too much frosting. Start with three-quarters of the can and add more only if needed to bring the dough together. For more troubleshooting tips on baked goods, a resource like King Arthur Baking’s blog is invaluable. Remember, my dears, every mistake is just a lesson learned in the kitchen.
My nonna always said, “Waste not, want not.” These cake pops store beautifully. Once the white chocolate coating has set completely, arrange them in a single layer in a large airtight container. Separate layers with parchment paper. They will keep in the refrigerator for up to one week.
For longer storage, you can freeze them for up to a month. Place the container in the freezer, and when you’re ready, let them thaw in the refrigerator overnight. This makes them a fantastic make-ahead treat for busy weeks. If you have leftover cake, you could also use it to make a quick batch of Texas sheet cake bars, another family favorite.
I hope this recipe for Red Velvet Cake Pops brings as much joy to your kitchen as it has to mine. It’s a project filled with love, perfect for creating memories with your loved ones. There’s something so special about transforming a simple cake into these elegant little treats.
If you enjoy the process of making festive desserts, you might also like creating mummy Oreo balls for Halloween or chocolate brownie trees for Christmas. For more bite-sized delights, my mini cheesecake bombs are always a hit. This is more than just a cake pops recipe; it’s a tradition of sharing sweetness. I hope you’ll give it a try.
If you adored making these cake pops, you might be looking for your next baking adventure. Here are a few more beloved recipes from my kitchen that share the same spirit of homemade joy.
Absolutely. While this recipe focuses on Red Velvet Cake Pops, the method works with almost any flavor of cake and complementary frosting. Chocolate cake with chocolate frosting or vanilla cake with vanilla buttercream are both excellent alternatives. The key is a cake that crumbles easily and a frosting that binds it well.
The secret is to roll the mixture between your palms firmly and evenly. If the dough is too sticky, chilling it for 15-20 minutes can make it easier to handle. For the smoothest Red Velvet Cake Pops, roll them, chill until very firm, and then give them a quick re-roll right before dipping to correct any imperfections.
This usually happens if the cake balls are not cold enough. The mixture needs to be very firm to prevent cracking. Ensure you chill them for the full 2 hours, or even longer if your refrigerator is not very cold. A properly chilled cake ball will allow the stick to slide in smoothly without splitting the surface.
Yes, you can use pure chocolate, but it requires tempering to set properly and have a nice snap. Candy melts are preferred for this easy cake pops recipe because they are designed to melt smoothly and set firmly at room temperature, making the process much simpler for home bakers.

Welcome to Mac Recipes! I'm here to prove that amazing home-cooked meals don't need to be complicated. From weeknight dinners to weekend treats, I create recipes that fit into your busy life—delicious, doable, and always worth making.
More About Me