Halloween Brain Cupcakes Recipe
This post may contain affiliate links.
Read our Disclaimer.
Leave a Comment ★★★★★
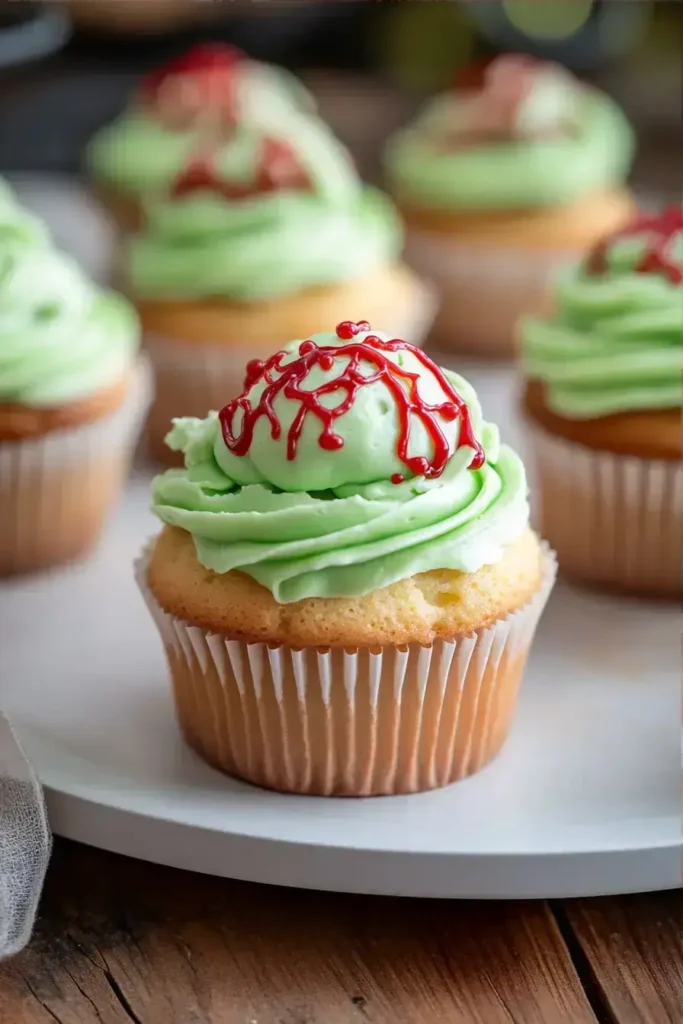
Making Zombie Brain Explosion Cupcakes is the ultimate way to turn a hectic Halloween into a fun, memorable baking session with your kids. These spooky desserts are shockingly simple, using just a handful of ingredients to create a gory treat that will have everyone laughing. I promise, you can go from zero to party hero in under an hour. This is your chaos-proof recipe for a seriously fun, kid-approved activity.


As a parent who is constantly watching the clock, I love a recipe that respects my time. The total time for these Zombie Brain Explosion Cupcakes is just about 45 minutes, with a quick 25-minute prep and a hands-off 20-minute bake. This puts it firmly in the “easy family activity” category, perfect for whipping up after school or right before a party.
Compared to other elaborate Halloween treats, the timing here is a real win. You get maximum spooky impact without spending your whole afternoon in the kitchen. The oven does most of the work, giving you a few precious minutes to tidy up or help with costumes!
I know many families are sugar-conscious or have specific dietary needs. The great news is that these spooky desserts are incredibly adaptable. For a lower sugar version, you can easily swap the jam and explore some fantastic alternatives.
Consider using a no-sugar-added raspberry spread for the filling. You can also find sugar-free frosting options at most grocery stores. For the cupcake itself, a natural sweetener like stevia can be used in place of some granulated sugar. Remember, a little goes a long way with these gory treats, so smaller portions are always an option for glycemic control.
After making these more times than I can count, I’ve picked up a few shortcuts that make the process even smoother. Here are my pro tips to ensure your zombie brains are a hit.
While these are definitely a fun indulgence, it’s helpful to know what you’re serving. A typical Zombie Brain Explosion Cupcake provides energy from carbohydrates and a small amount of protein. The raspberry jam adds a touch of fruit, offering a hint of vitamin C.
When compared to many store-bought Halloween candies, this homemade option allows you to control the ingredients. For a richer, creamier alternative, you could explore the base used in my fluffy coconut cream cupcakes. It’s always a good idea to balance treats with wholesome meals. For reliable nutritional information, I often refer to the USDA FoodData Central.
Remember, treats like these are about the experience and joy of baking together. The laughter and creativity involved are just as important as the ingredients!
If you want to lighten things up a bit, it’s surprisingly easy. You can reduce the sugar in the cupcake batter by a quarter cup without sacrificing texture. For the frosting, try a lighter cream cheese frosting tinted with green food coloring.
Using a sugar-free jam for the raspberry jam brains is a fantastic swap. For another deliciously simple dessert idea, check out these monster cookie brownies. They’re another kid-friendly option that’s easy to customize.
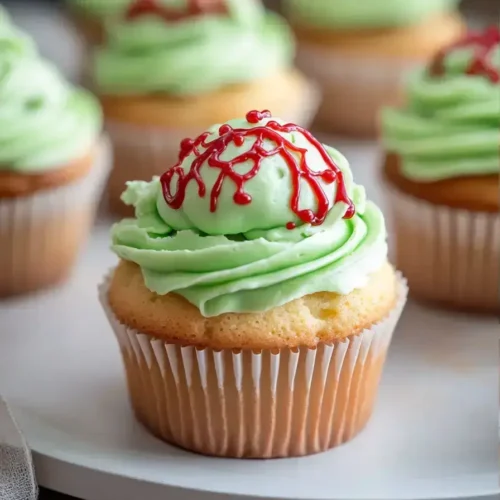
I’ll never forget the first time I put a platter of these cupcakes down at a Halloween party. The kids’ eyes went wide with a mix of horror and delight! Presentation is half the fun with these gory treats. Serve them on a dark slate or a creepy-looking plate to make the green frosting and red gel icing veins really pop.
They pair perfectly with a tall glass of cold milk or a fun churro cheesecake punch for a full spread. For an extra touch, add some plastic spiders or other Halloween decorations around the platter. These Zombie Brain Explosion Cupcakes are the star of any spooky dessert table.

Even the easiest recipes can have tricky spots. Let’s tackle a few common questions so your baking goes off without a hitch. Why are my cupcakes dense? This usually happens if you overmix the batter after adding the flour. Mix just until the ingredients are combined.
How can I prevent the jam from leaking? Make sure the cupcakes are completely cool before you core and fill them. A warm cupcake will absorb the jam and make it disappear. Why is my green frosting too runny? If your kitchen is warm, the frosting can soften. Pop the frosted cupcakes in the fridge for 10 minutes to let the frosting set before adding the red gel icing veins.
I learned the hard way that rushing the cooling step leads to a messy, albeit tasty, situation. Taking those extra few minutes makes all the difference for a picture-perfect spooky dessert. For more detailed baking science, King Arthur Baking’s blog is an excellent resource.
Remember, baking is supposed to be fun. Don’t stress if your first zombie brain isn’t perfect. The kids will love it no matter what!
These cupcakes always bring back memories of my son proudly showing his creations to the neighbors. To keep that fresh-baked taste, storage is key. Store any leftover Zombie Brain Explosion Cupcakes in a single layer in an airtight container at room temperature for up to 2 days.
I don’t recommend freezing them after they’ve been filled and frosted, as the texture of the frosting can change. If you need to make components ahead, the unfrosted cupcakes freeze beautifully for up to a month. For another make-ahead treat that stores well, these mummy Oreo balls are a fantastic option.
I truly hope you and your family have as much fun making these Zombie Brain Explosion Cupcakes as we do. They are the perfect project to bring a little laughter and a lot of creativity into your kitchen. This is one of those recipes that proves you don’t need fancy skills or a ton of time to create something special.
Gather your little helpers, put on some fun music, and dive in. The mess is part of the memory! If you love this hands-on baking style, you might also enjoy my reindeer brownie bites for Christmas or these adorable Valentine’s Day Oreo pops. For a different flavor profile, these candy bar blondies are always a crowd-pleaser. Happy baking!
If you’re in a Halloween mood, you’ve come to the right place. Here are a few more fiendishly fun recipes to make your season extra sweet.
– Pumpkin Patch Deviled Eggs – A savory and clever twist on a classic that’s perfect for parties. – Red Velvet Cinnamon Rolls – Dramatic, delicious, and perfect for a cozy Halloween morning. – Churro Saltine Toffee – An addictive sweet and salty treat that comes together in minutes. – Cinnamon Roll Sugar Cookies – All the warmth of cinnamon rolls in a fun, handheld cookie. – Fruity Pebbles Cheesecake Tacos – A wildly colorful and fun dessert that kids go crazy for.Absolutely! You can bake the cupcakes a day in advance. Let them cool completely, then store them unfrosted in an airtight container. Decorate them with the raspberry jam brains and green frosting on the day you plan to serve them for the best presentation.
Any red-colored jam or jelly works wonderfully. Strawberry, cherry, or even seedless raspberry jam are great alternatives. For a different flavor, you could use a red velvet cake batter as the filling, similar to the concept in some red velvet recipes.
The key is texture! Don’t smooth the frosting out perfectly. Use an offset spatula or a knife to create uneven, swirly peaks to mimic wrinkled skin. Then, the red gel icing veins will stand out dramatically against the textured green background.
Most kids find these Zombie Brain Explosion Cupcakes more funny than frightening. The cartoonish, gory look is all in good fun. If you have a particularly sensitive child, you can frame them as “mad scientist” or “monster” cupcakes to keep the vibe light and playful.

Welcome to Mac Recipes! I'm here to prove that amazing home-cooked meals don't need to be complicated. From weeknight dinners to weekend treats, I create recipes that fit into your busy life—delicious, doable, and always worth making.
More About Me