Spooky Chocolate Muffins
This post may contain affiliate links.
Read our Disclaimer.
Leave a Comment ★★★★★
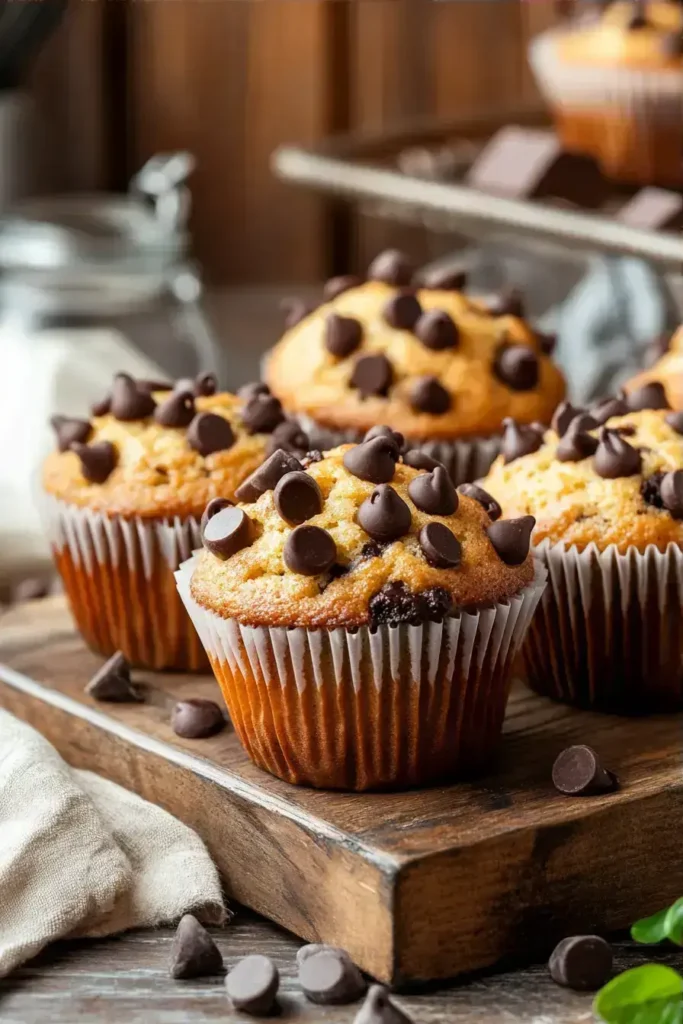
These adorable Mummy Muffins are the perfect way to bring a little spooky fun into your kitchen this Halloween. They’re a simple chocolate chip muffin recipe transformed with a dusting of powdered sugar to look like cute little mummies, making them a hit at parties and a fun project for little hands.

Cara mia, every great recipe starts with good ingredients laid out with care, just like my Nonna taught me. Let’s gather our supplies.

In my kitchen, time spent baking is a meditation. The good news is, these Mummy Muffins come together in a flash. With just 15 minutes of prep time and 20 minutes in the oven, you’ll have a batch of these holiday baking treats ready in about 35 minutes total.
This makes them perfect for a weeknight when you need a last-minute fun activity or a quick contribution to a Halloween party. Compared to more elaborate festive muffins, this Mummy Muffins recipe is wonderfully straightforward. For another quick and delightful treat, you might enjoy my Mummy Oreo Balls.
I believe everyone should be able to enjoy a little treat. If you’re looking for a low sugar or diabetic-friendly version of these muffins, it’s easy to adapt. You can swap the granulated sugar for a natural sweetener like monk fruit or stevia. For the decoration, a light dusting of the powdered sugar is key, but you could use a sugar-free alternative sparingly. Remember, the joy is in the making and sharing.
Over the years, I’ve learned a few tricks to make these muffins truly special. Here is my generational wisdom, from our table to yours.
While these are certainly a treat, it warms my heart to know there’s a bit of nourishment in them, too. Using whole milk and eggs provides a good source of protein and essential nutrients. For a nutrient boost, you could even use white whole wheat flour. These chocolate chip muffins can be part of a balanced celebration. If you’re looking for more baked goods with wholesome ingredients, my apple muffin is a wonderful choice. For a truly indulgent but classic treat, nothing beats a pecan pie muffin. You can always find great information on balanced eating from sources like the MyPlate guidelines.
If you prefer a lighter version, you can easily reduce the sugar by a quarter cup without sacrificing much sweetness. You can also substitute the butter with an equal amount of unsweetened applesauce for less fat. For another delicious and lighter muffin idea, try my vegan pizza muffins.
I remember my grandchildren’s faces lighting up when I’d bring a platter of these to the table on Halloween morning. It’s a tradition now. Serve these Mummy Muffins as a fun breakfast surprise, a party centerpiece, or packed in a lunchbox for a special school-day treat.

They pair wonderfully with a cold glass of milk for the kids or a hot coffee for the adults. For a full Halloween spread, they look fantastic next to other spooky treats like pumpkin patch deviled eggs. And if you’re planning a whole dessert table, my Halloween treat ideas have plenty of inspiration.
Even Nonna had a kitchen mishap now and then! Here’s how to avoid the most common ones with this Mummy Muffins recipe.
I’ve found that patience is the secret ingredient in so many recipes. Taking your time brings the best results. For more troubleshooting on other desserts, my guide for monster cookie brownies has helpful tips. And if cake is your challenge, see my notes on chocolate spider cake. For general baking science, King Arthur Baking is a wonderful resource.
We always make a double batch because they disappear so fast! To keep your Mummy Muffins fresh, store them in an airtight container at room temperature for up to 3 days. For longer storage, they freeze beautifully. Wrap each cooled muffin tightly in plastic wrap and place them in a freezer bag. They’ll keep for up to 3 months. Thaw at room temperature when you’re ready for a spooky snack.
From my family to yours, this Mummy Muffins recipe is shared with so much love. It’s more than a recipe; it’s a way to create a little magic and lasting memories in your kitchen. I hope you gather your loved ones, roll up your sleeves, and fill your home with the wonderful aroma of baking.
If you enjoy these, you might also love my other holiday-inspired bakes like reindeer brownie bites, the ever-popular cinnamon roll sugar cookies, or the decadent mini cheesecake bombs. And for a different take on a classic muffin, my maple walnut muffin is a fall favorite. Thank you for letting me share this tradition with you. Happy baking!
If you loved making these adorable muffins, you’ll get a kick out of these other fun and festive recipes perfect for your Halloween celebration.
Absolutely! You can bake the muffins a day in advance. For the best presentation, wait to dust them with the powdered sugar until just before you plan to serve them. This keeps the “mummy” effect looking fresh and white.
You can easily customize your Mummy Muffins. Dried cranberries or cherries would add a nice tartness, or you could use chopped nuts like walnuts or pecans for a different texture. White chocolate chips would also be delicious.
The key is to use a fine-mesh sieve. Hold it over the cooled muffin and gently tap the side to sift the sugar. You can create bandage-like lines by moving the sieve in a back-and-forth motion, or just a light dusting over the top looks wonderful too.
Yes, this Mummy Muffins recipe works perfectly for mini muffins! Simply grease a mini muffin tin and fill the cups about 2/3 full. Reduce the baking time to about 10-12 minutes, or until a toothpick comes out clean.

Welcome to Mac Recipes! I'm here to prove that amazing home-cooked meals don't need to be complicated. From weeknight dinners to weekend treats, I create recipes that fit into your busy life—delicious, doable, and always worth making.
More About Me