Red Velvet Crumbl Cookie Copycat Recipe
This post may contain affiliate links.
Read our Disclaimer.
Leave a Comment ★★★★★
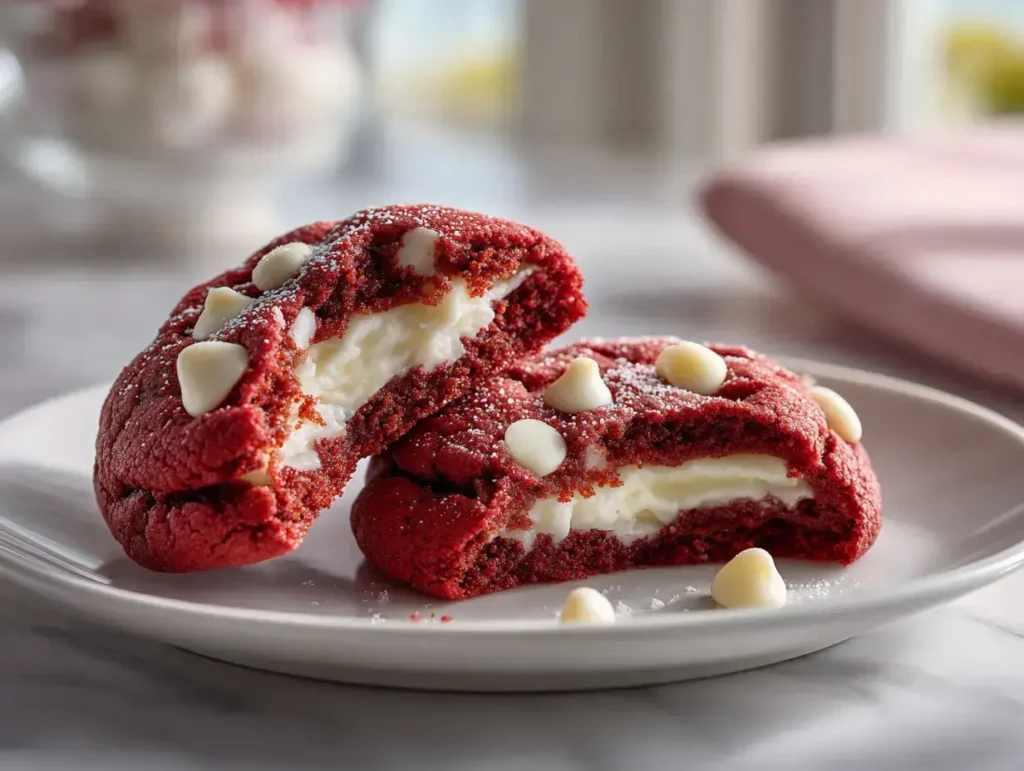
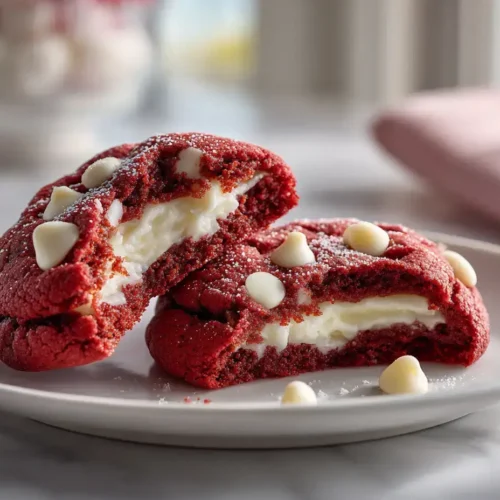
Making the perfect Red Velvet Crumbl Cookie at home is a beautiful way to bring a taste of that beloved bakery experience right to your kitchen. This crumbl copycat recipe captures the iconic soft, cake-like texture and tangy cream cheese filling that makes these treats so special. I’m sharing my family’s method, passed down with love, so you can create these stunning red velvet cookies with confidence.


My dear, don’t let the beautiful result intimidate you. This is an easy family recipe that comes together in about 40 minutes total. With just 25 minutes of simple prep work and 15 minutes of baking, you’ll have warm, fragrant cookies filling your home.
This is the perfect project for a weekend afternoon. It’s a cookie recipe that feels like a special occasion but is totally achievable any day you need a sweet treat. The timeline is friendly, allowing you to enjoy the process without feeling rushed.
In our family, we believe everyone deserves a taste of something special. If you’re sugar conscious, you can easily adapt this recipe. For a lower sugar version, consider using a natural sweetener like a stevia blend made for baking in the cookie dough.
For the filling, you could slightly reduce the powdered sugar or use a sugar-free alternative. Remember, portion size is also a wonderful way to enjoy treats mindfully. These rich cookies are so satisfying that a smaller portion can be just as delightful.
Over the years, I’ve learned a few secrets that make all the difference. First, always ensure your butter, eggs, and buttermilk are at room temperature. This simple step helps the ingredients emulsify perfectly, creating a smooth, uniform dough for your red velvet cookies.
While this is certainly a treat, it’s made with real, simple ingredients. The cocoa powder provides flavonoids, and using quality butter and cream cheese means you’re enjoying wholesome fats. These homemade red velvet cookies are a source of joy, and sharing them with loved ones is a wonderful way to connect.
Baking at home allows you to control the quality of everything that goes into your baked goods. Compared to many store-bought versions, you can be confident in what you’re eating. For another classic using cocoa, try my favorite chocolate brownie recipe.
If you’d like to make a slightly lighter version, there are a few gentle tweaks. You can replace half the all-purpose flour with whole wheat pastry flour for a fiber boost. Using a sugar substitute designed for baking can also reduce the sugar content.
For the filling, blending the cream cheese with Greek yogurt can create a tangy, protein-rich alternative. Remember, the goal is to create a treat you love and can feel good about sharing.
In our home, these cookies are a celebration. I always think of my granddaughter’s birthday when I make them. She requests them every year, and we enjoy them with a cold glass of milk. The contrast of the cool milk with the soft, slightly warm cookie is pure bliss.
They are also spectacular served alongside a scoop of vanilla bean ice cream for an ultimate red velvet dessert. For a festive spread, pair them with other classics like my red velvet cake or these delightful Christmas cookies.

Let me guide you past a few common hurdles, so your cookies turn out perfectly every time. The first mistake is using cold ingredients. This prevents the dough from coming together smoothly and can result in dense cookies.
Another common issue is overbaking. These are meant to be soft cake-like cookies, so they will look soft in the center when they come out. They set up as they cool. Also, make sure your baking soda is fresh! If it’s old, your cookies won’t rise properly.
Finally, don’t skip the step of letting them cool on the baking sheet. This is crucial for them to set without falling apart. I remember one time I was too eager and tried to move them right away—what a mess! Patience is a virtue in baking. For more troubleshooting on similar treats, check out tips for fudgy brownies.
Because of the cream cheese, these cookies must be stored in the refrigerator. Place them in an airtight container, and they will stay fresh for about 4-5 days. You can also freeze them for up to 3 months. I like to wrap each cookie individually in plastic wrap before placing them in a freezer bag.
This way, you can thaw just one whenever a craving strikes. It’s like having a little piece of happiness waiting for you. They are delicious cold, or you can warm them gently in the microwave for a few seconds.
This recipe is more than just a list of ingredients; it’s a piece of my family’s table, shared with you. The process of creating these beautiful, cream cheese stuffed cookies is a joyful one. I hope you gather your loved ones and fill your kitchen with the same warmth and love that we do.
If you enjoy this baking project, you might also love making my red velvet cinnamon rolls for a special breakfast, or these elegant red velvet crinkle cookies. For a different velvet cake adventure, try this stunning purple velvet cake. And for more holiday inspiration, browse our collection of chocolate Christmas desserts and best fall cakes. From our table to yours, happy baking!
If you fell in love with baking these soft, decadent cookies, here are a few more recipes that bring the same joy and warmth to your kitchen.
Chocolate Crinkle Cookies – A fudgy, crackled classic that’s perfect for any cookie platter.
Absolutely, you can prepare the cookie dough up to 2 days in advance. Simply wrap it tightly in plastic wrap and store it in the refrigerator. When you’re ready to bake, let the dough sit at room temperature for about 20 minutes to make it easier to scoop before proceeding with the recipe. This is a great cookie recipe tip for busy bakers.
This usually means you need a bit more food coloring. The cocoa powder can tint the dough brown, so a generous amount of red coloring is needed to achieve that vibrant hue. Make sure you’re using a liquid food coloring rather than a gel for this particular crumbl copycat recipe for the best color distribution.
The key is to create a deep, well-sealed pocket. Make a substantial indentation in the dough ball and ensure the dough fully encloses the filling on the sides. Also, avoid overfilling the center. A heaping tablespoon is perfect. Chilling the filled dough balls for 15 minutes before baking can also help the cream cheese filling hold its shape.
Yes, these homemade red velvet cookies freeze beautifully. Let them cool completely first, then wrap each cookie individually in plastic wrap. Place them in a single layer in a freezer-safe bag. They will keep for up to 3 months. Thaw in the refrigerator overnight for the best texture.

Welcome to Mac Recipes! I'm here to prove that amazing home-cooked meals don't need to be complicated. From weeknight dinners to weekend treats, I create recipes that fit into your busy life—delicious, doable, and always worth making.
More About Me