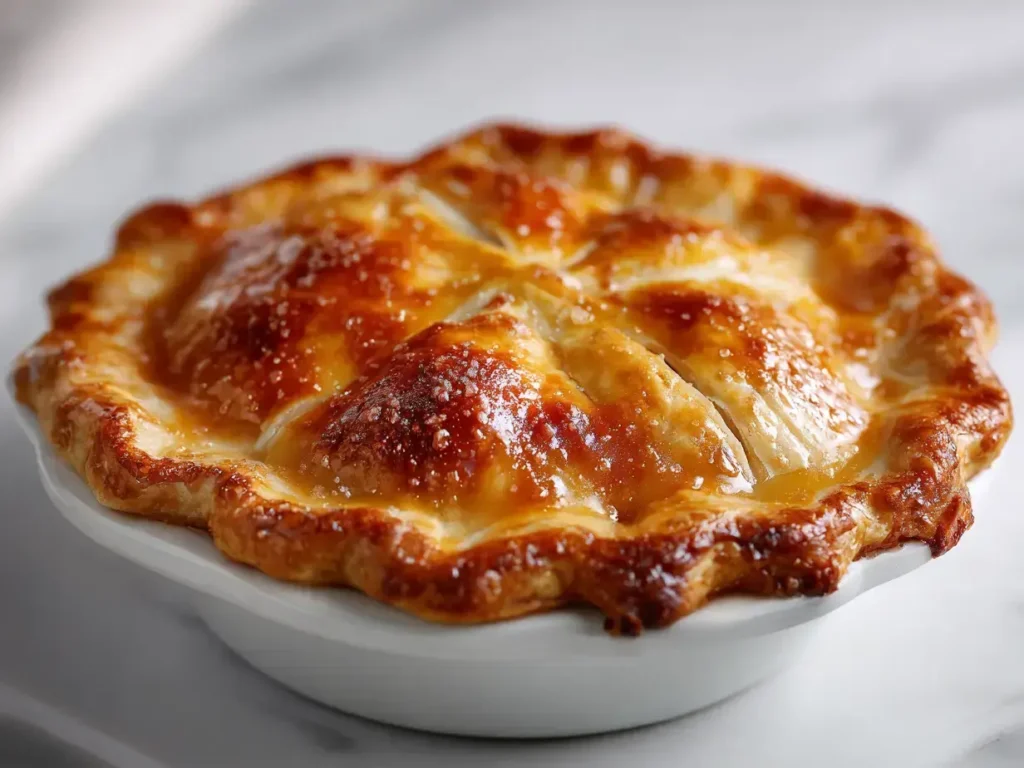
This homemade apple hand pie delivers all the comforting flavors of classic apple pie in a perfectly portable form. Made with a flaky, from-scratch crust and a warmly spiced filling, these personal-sized treats are ready in just over an hour. They are the ultimate grab-and-go dessert for picnics, school lunches, or a sweet afternoon ritual.
I first fell for the charm of handheld desserts during my travels, where the aroma of warm fruit and pastry is a universal language of comfort. There’s something deeply satisfying about holding your own personal pie, its golden crust giving way to a tender, cinnamon-kissed filling. I love to serve these warm from the oven alongside a cup of afternoon tea, or pack them for a festive autumn gathering. They pair beautifully with a scoop of vanilla ice cream or a drizzle of caramel sauce, much like our popular salted caramel apple bars, and offer the same cozy appeal as a classic slice of homemade apple pie in a fun, individual package.
What Makes This Hand Pie Special
- Irresistible Flavor: The combination of tart apples and warm spices creates a classic, comforting taste.
- Perfectly Portable: These individual pies are ideal for on-the-go snacks, lunchboxes, or picnics.
- Easy to Make: With simple steps and common ingredients, this recipe is approachable for all bakers.
- Crowd-Pleasing Dessert: Their personal size and familiar flavor make them a hit with both kids and adults.
What You’ll Need for Perfect Hand Pies
Be sure to see the recipe card below for the full listing of ingredients, instructions, notes, and estimated nutritional information.
- All-purpose flour: Forms the base of our tender, flaky pie dough.
- Unsalted butter, very cold: Creates pockets of steam for a wonderfully flaky crust.
- Ice water: Helps bind the dough without melting the butter.
- Granulated and light brown sugar: Sweetens the filling and helps it caramelize.
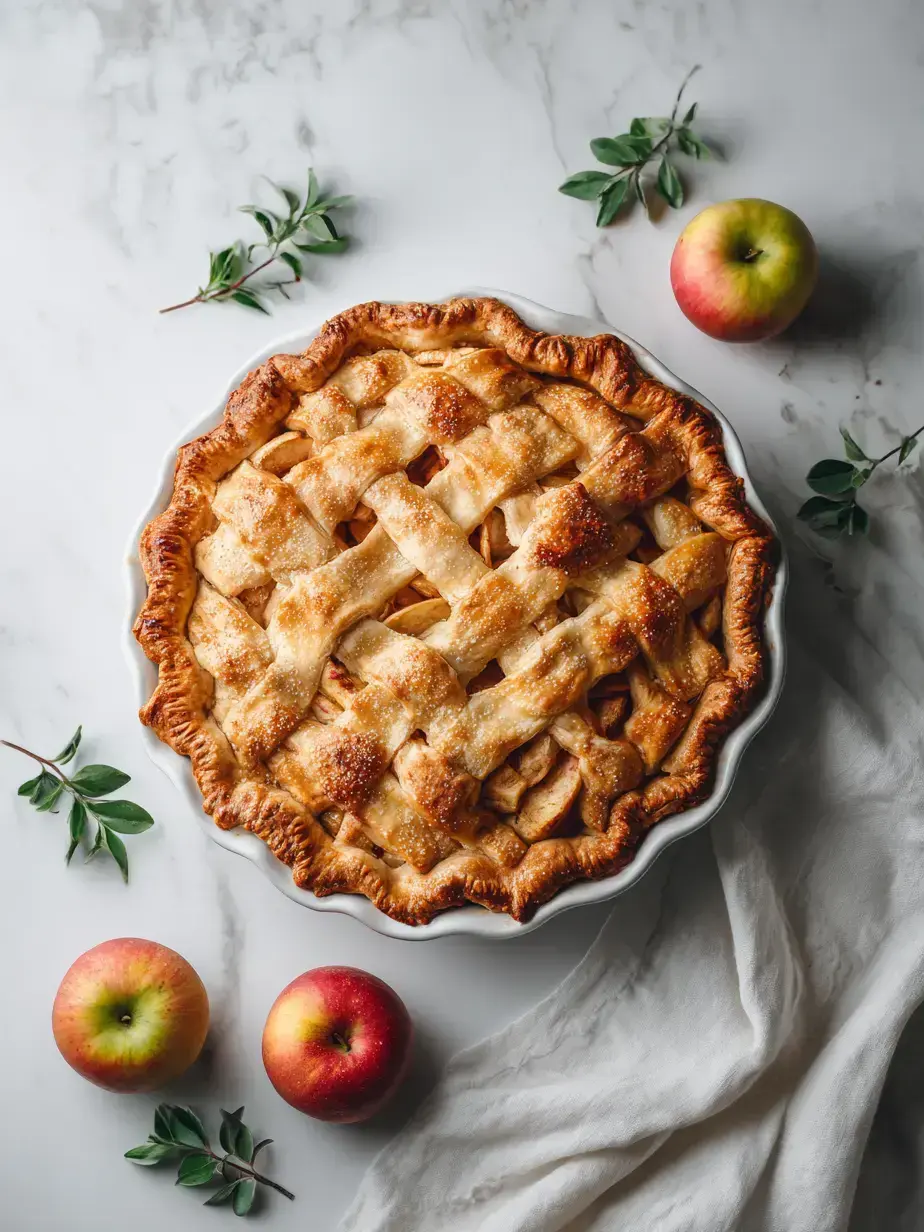
- Tart apples, such as Granny Smith: Hold their shape well and provide a bright flavor.
- Ground cinnamon and nutmeg: Deliver that classic, warm spiced apple pie aroma.
- Fresh lemon juice: Adds a touch of acidity to balance the sweetness.
- Egg: Creates a shiny, golden finish on the baked crust.
Apple Hand Pie
Make delicious homemade apple hand pies with this easy recipe. Flaky pastry filled with spiced apples – perfect portable dessert.
Prep Time 50 minutes mins
Cook Time 20 minutes mins
30 minutes mins
Total Time 1 hour hr 40 minutes mins
Course Dessert
Cuisine American
Servings 8 hand pies
Calories 380 kcal
mixing bowl
pastry blender
whisk
measuring cups
measuring spoons
knife
cutting board
Rolling Pin
round cutter
fork
baking sheet
parchment paper
oven
wire rack
Pie Dough
- 2.5 cups all-purpose flour, plus more for dusting
- 1 tsp salt
- 1 tbsp granulated sugar, divided, plus more for sprinkling
- 1 cup unsalted butter, very cold, cut into 1/2-inch cubes (2 sticks)
- 0.5 cup ice water, plus more if needed
Apple Filling
- 3 medium tart apples, such as Granny Smith or Honeycrisp, about 1 1/2 pounds, peeled, cored, and finely diced
- 0.25 cup granulated sugar
- 2 tbsp light brown sugar, packed
- 1 tbsp all-purpose flour
- 0.5 tsp ground cinnamon
- 0.25 tsp ground nutmeg
- 1 tbsp fresh lemon juice
In a large mixing bowl, whisk together 2 1/2 cups all-purpose flour, 1 teaspoon salt, and 1 tablespoon granulated sugar. Add the 1 cup of very cold, cubed unsalted butter and cut it into the flour mixture using a pastry blender or your fingertips until the butter pieces are about the size of small peas. Gradually add 1/2 cup ice water, one tablespoon at a time, mixing gently until the dough just comes together into a shaggy ball. Be careful not to overmix. Divide the dough into two flat discs, wrap each tightly in plastic wrap, and refrigerate for at least 30 minutes.
While the dough chills, in a medium bowl, combine the finely diced apples, 1/4 cup granulated sugar, 2 tablespoons packed light brown sugar, 1 tablespoon all-purpose flour, 1/2 teaspoon ground cinnamon, 1/4 teaspoon ground nutmeg, and 1 tablespoon fresh lemon juice. Stir gently until the apples are evenly coated.
Lightly flour a clean work surface and a rolling pin. Take one disc of chilled dough from the refrigerator and roll it out into a 1/8-inch thick circle or rectangle. Use a 4-inch round cutter or a knife to cut out desired shapes. Gather any dough scraps, gently re-roll them, and cut more shapes as needed. Repeat with the second disc of dough.
Place about 1 to 2 tablespoons of the apple filling onto the center of half of your dough cut-outs, leaving a 1/2-inch border around the edge. Lightly moisten the edges of the filled dough with water using your finger. Place a second dough cut-out directly over the filling and gently press down to seal the edges. Use the tines of a fork to crimp all around the sealed edges, ensuring a tight seal that will prevent the filling from leaking out during baking.
In a small bowl, whisk together the large egg and 1 tablespoon water to create an egg wash. Place the assembled hand pies onto baking sheets lined with parchment paper, leaving a little space between each. Brush the top of each hand pie evenly with the egg wash. Using a sharp knife, make 2-3 small slits on the top of each pie to allow steam to escape during baking. Sprinkle the tops with the remaining granulated sugar.
Preheat your oven to 400°F (200°C). Bake the hand pies for 18 to 22 minutes, or until the crust is deeply golden brown and the filling is bubbling slightly through the vents. The exact time may vary slightly depending on your oven.
Carefully transfer the baked hand pies from the baking sheets to a wire rack. Let them cool for at least 15-20 minutes before serving. This allows the hot filling to set properly, ensuring a better texture and preventing burns when enjoyed.
Let the pies cool to allow the filling to set properly, preventing a runny texture and potential burns.
Keyword apple, hand pie, pie, portable dessert
Creative Hand Pie Variations
- Caramel Apple: Add a small dollop of caramel sauce to the center of the apple filling before sealing.
- Apple Cranberry: Mix in a handful of dried cranberries with the apple filling for a tart twist.
- Cheddar Crust: Add a quarter cup of sharp cheddar cheese to the dough for a savory-sweet pairing.
My Pro Tips for Perfect Pies
- Keep Ingredients Cold: Ensure your butter and water are very cold for the flakiest possible crust texture.
- Don’t Overfill: Use just 1 to 2 tablespoons of filling to prevent leaks during baking.
- Seal Tightly: Crimp the edges well with a fork to keep the delicious filling inside.
- Let Them Cool: Allowing the pies to rest lets the filling set for the best texture. For another great make-ahead dessert, try our easy apple dumplings.
Storing Your Homemade Hand Pies
- Store: Keep cooled pies in an airtight container at room temperature for up to 2 days, or in the refrigerator for up to 5 days.
- Freeze: Individually wrap unbaked or baked pies in plastic wrap and freeze in a zip-top bag for up to 3 months.
- Reheat: Warm in a 350°F oven for 10-15 minutes until heated through and the crust is crisp again.
- Make-Ahead Tip: You can prepare the dough and filling up to 2 days in advance and store them separately in the refrigerator.
Frequently Asked Questions
Can I use store-bought pie crust for apple hand pies?
Yes, you can absolutely use store-bought pie crust for a quicker version. I recommend a high-quality, all-butter pastry for the best flavor. Roll it out slightly thinner before cutting your shapes.
How do I prevent my hand pies from leaking?
The key is to avoid overfilling and to ensure a tight seal. Use just 1-2 tablespoons of filling and leave a good border. Crimp the edges firmly with a fork to seal them completely.
What are the best apples to use for hand pies?
I prefer firm, tart apples like Granny Smith or Honeycrisp. They hold their shape during baking and provide a nice contrast to the sweet, buttery pastry without becoming mushy.
Can I make apple hand pies ahead of time?
Absolutely. You can assemble the pies and freeze them unbaked, then bake straight from frozen, adding a few extra minutes to the baking time. They also reheat beautifully.
More Sweet Treats to Bake
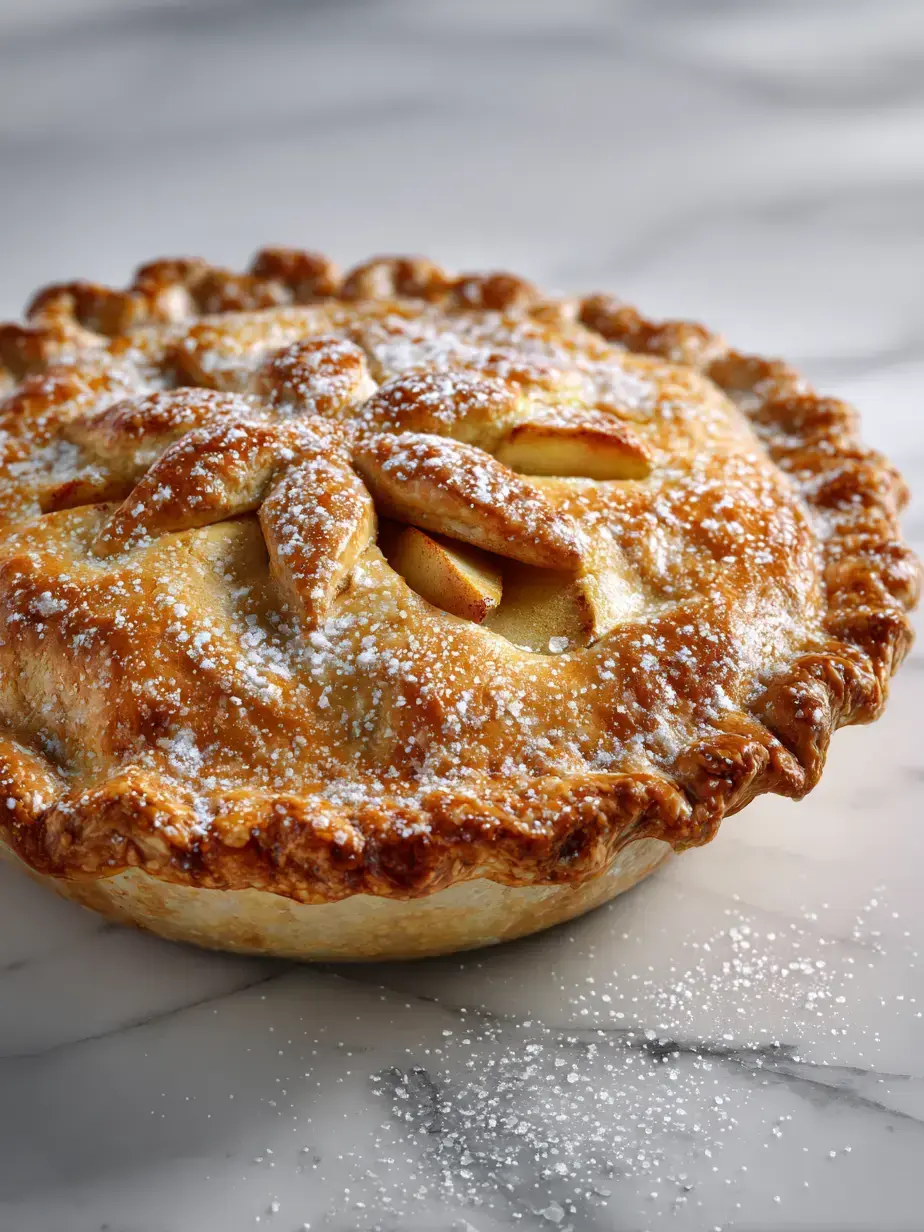
Why This Hand Pie Is a Favorite
With its flaky, buttery crust and warmly spiced apple filling, this portable dessert captures the essence of fall in every bite. It’s incredibly versatile, perfect for everything from a lunchbox surprise to an elegant party platter. I know you’ll love creating these little pockets of joy and sharing them with your favorite people.